9 Things to Do After Buying a Raspberry Pi
9 Things to Do After Buying a Raspberry Pi
Hardware Requirements
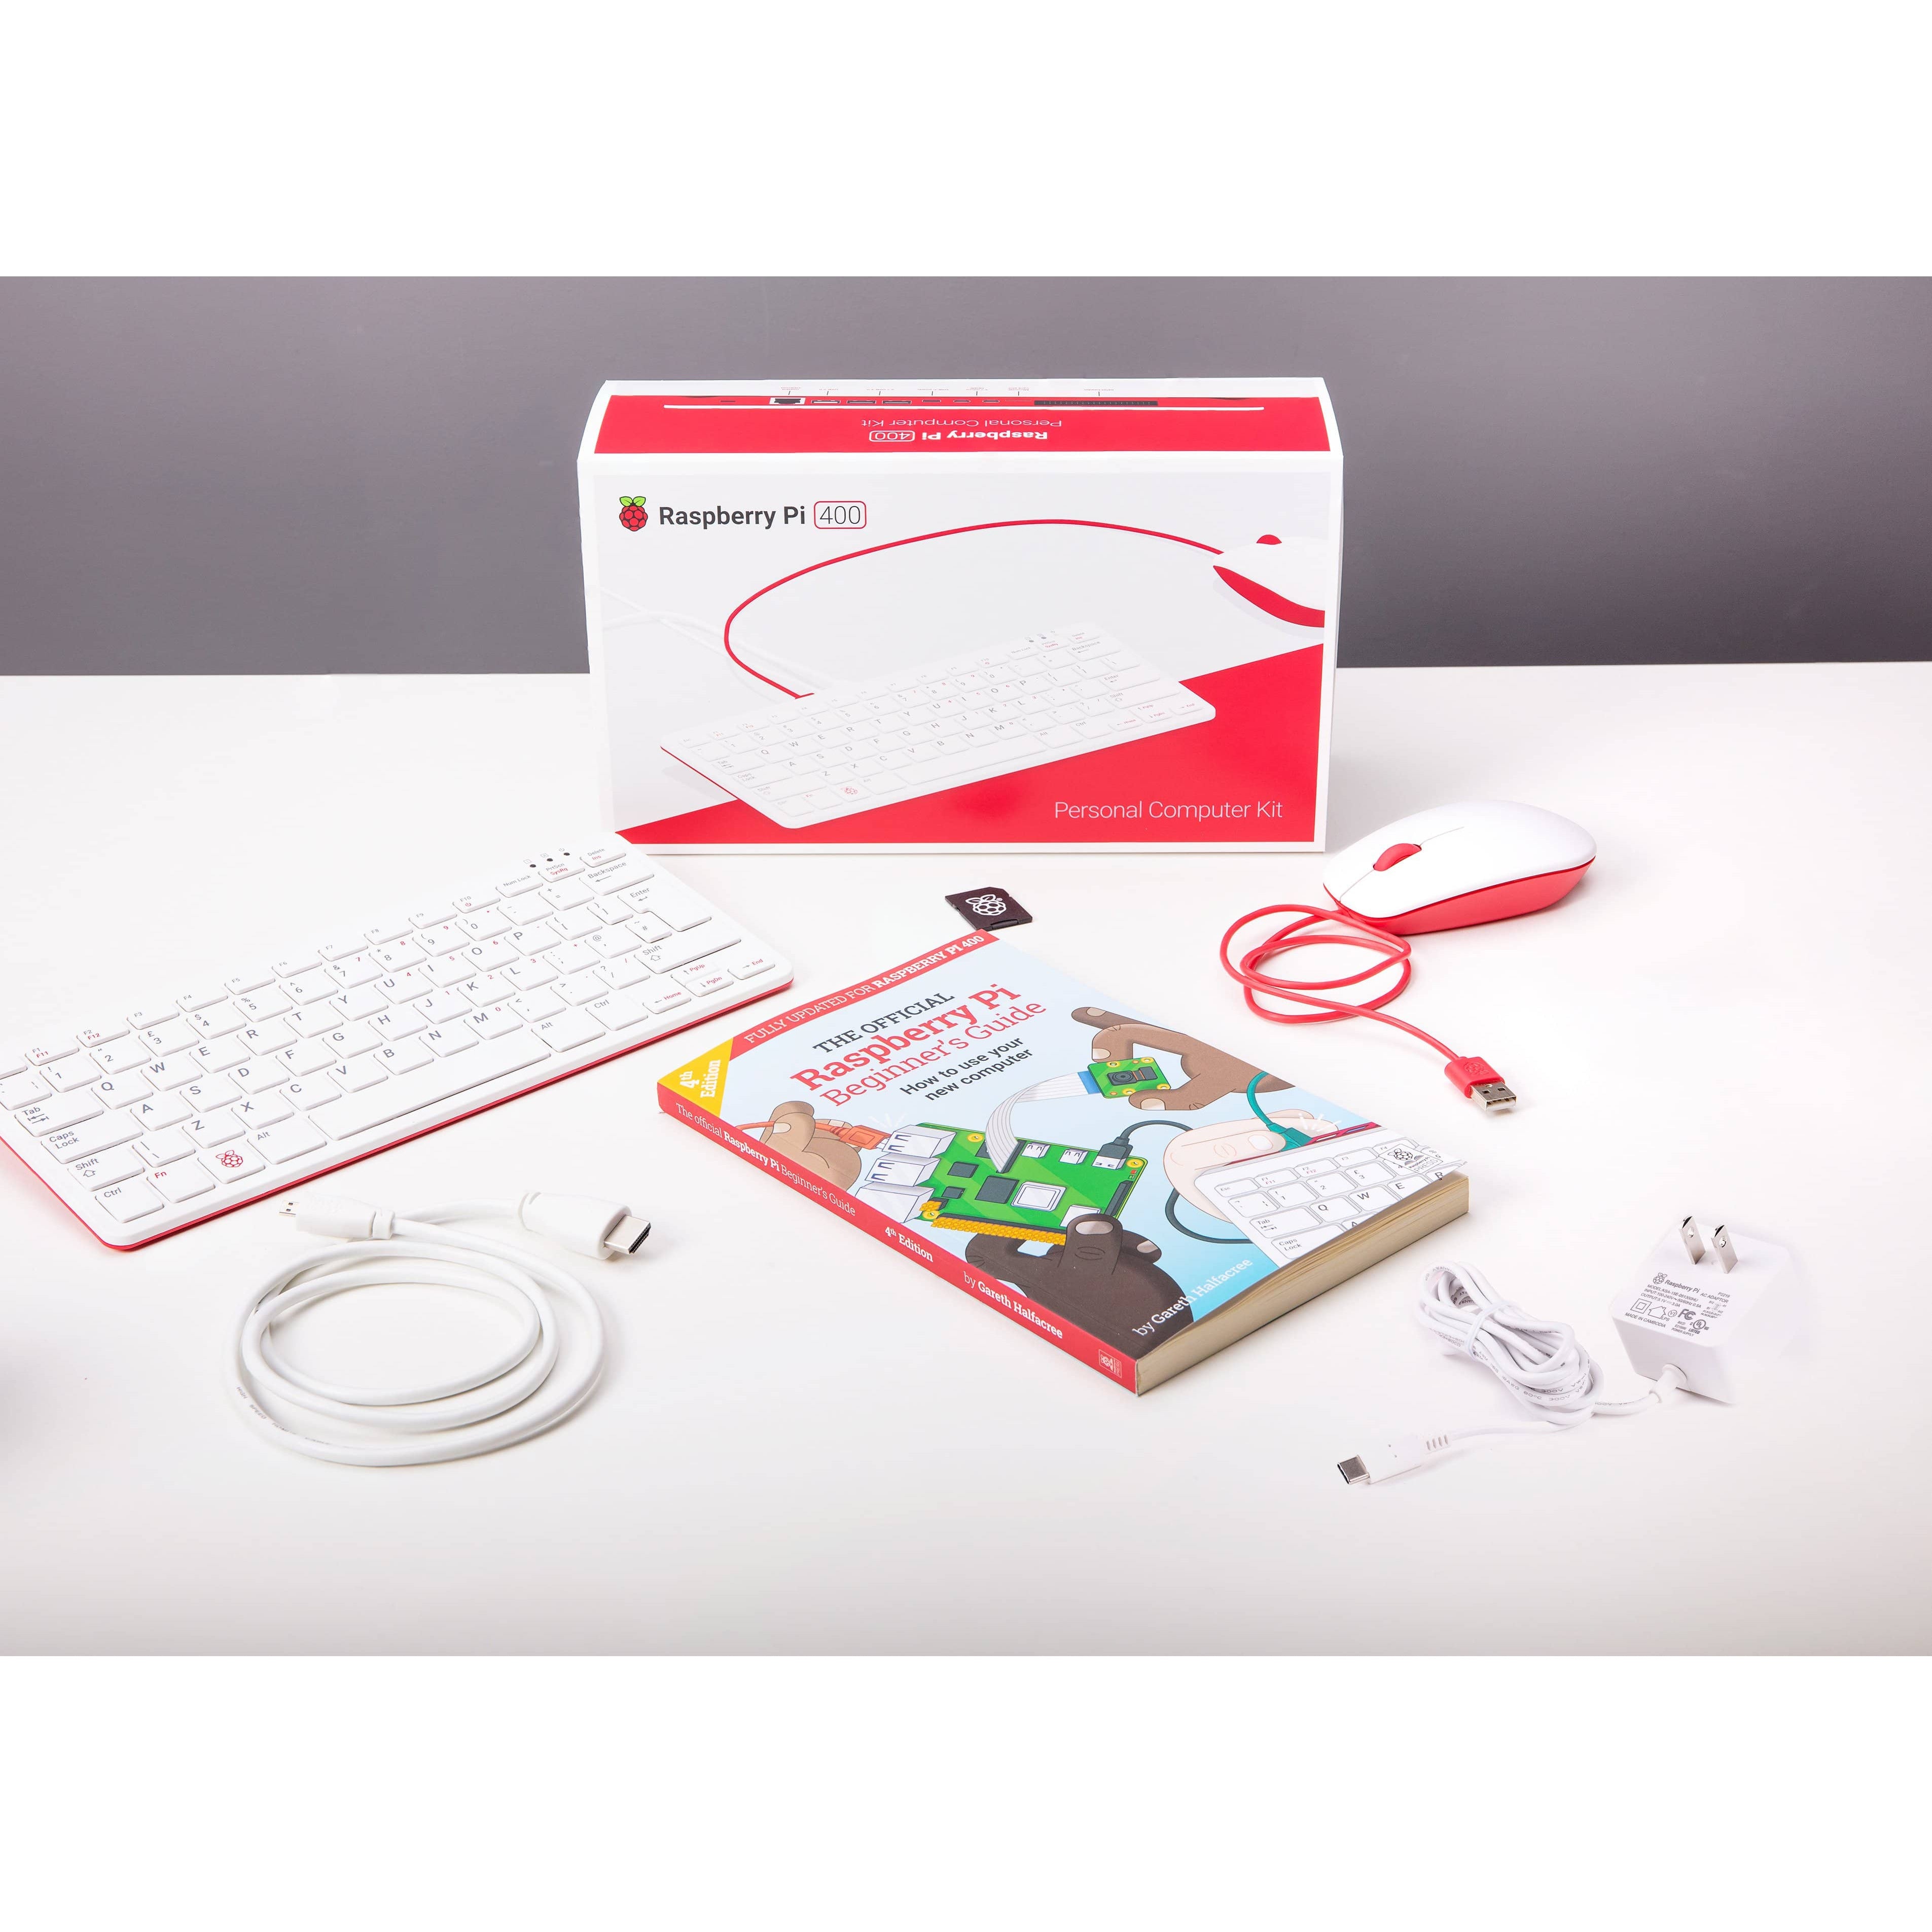
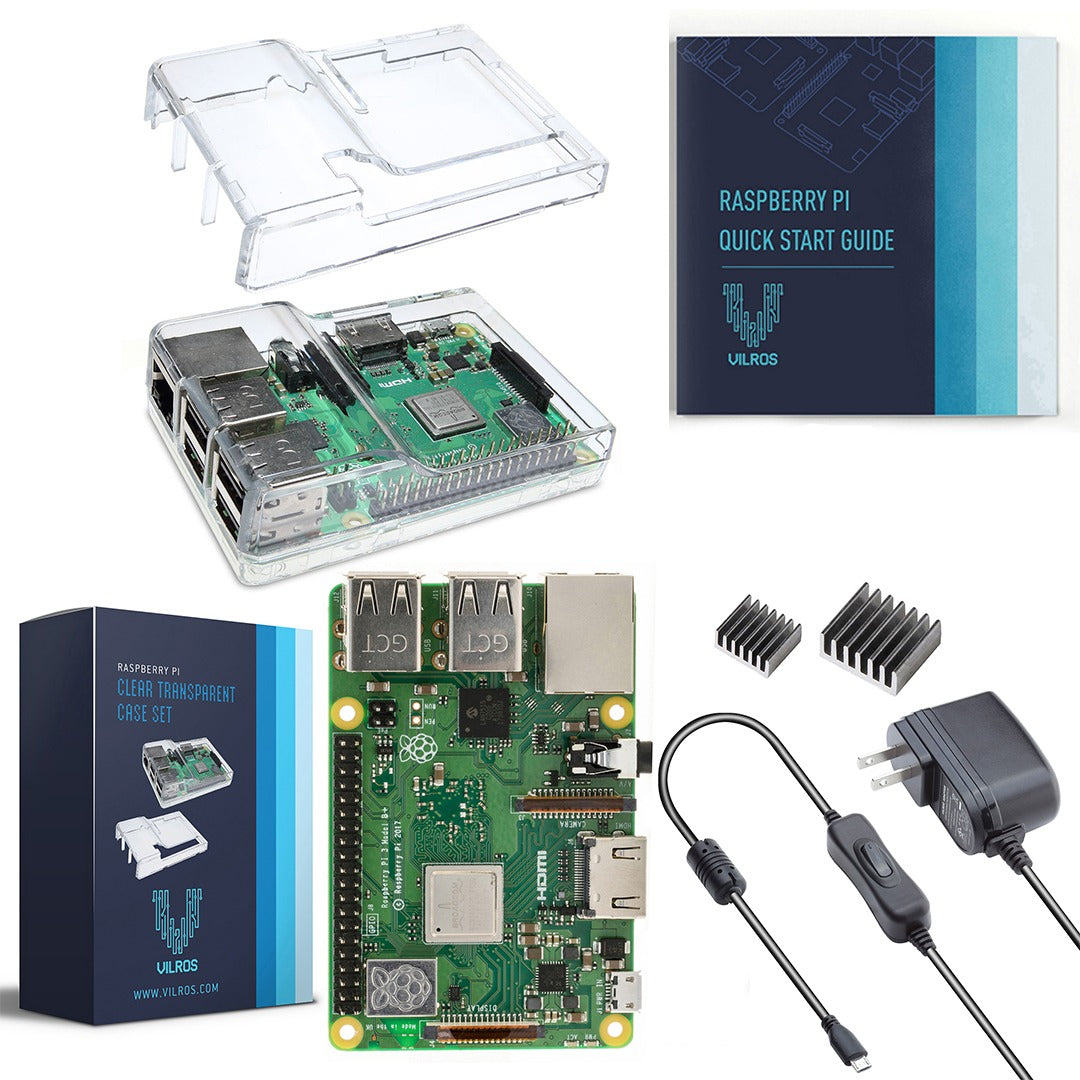
The following hardware is used in this article:
- Raspberry PI model B.
- 2.5Amp power supply with micro USB connector
- SD card 8GB or bigger with speed grade of 4 or higher (e.g. speed grade 10).
- USB keyboard.
- USB mouse.
- HDMI monitor.
- HDMI cable.
- Ethernet cable and Internet for software updates and installation.
1. Install the Raspbian Operating System
- Raspbian is the Debian Linux operating system that has been specifically configured to run on the Raspberry Pi board.
- The Raspberry Pi can run a number of different operating systems, but for this specific article we chose to use Raspbian.
- The Raspberry PI ONLY boots from an SD card, so the operating system is installed to an SD card.
The steps are described below.
Downloading
The easiest way to install Raspbian is to download the New Out of Box Software (NOOBS) from the Raspberry PI download page.
Copying to SD Card
After downloading NOOBS to your computers hard-drive you must extract or unzip all of the contents from the zipped NOOBS file folder and copy copy and paste ALL of the files and folders on to your SD card. See image below:
Installing Software from the SD Card
Plug the HDMI monitor, keyboard, mouse and SD card into the Raspberry PI board. Switch the monitor power on and connect the power supply to the Raspberry PI last.
The Raspberry PI will boot from the installed SD card and allow you to install the operating system of your choice – Highlight Raspbian and install.
2. Setup Language and Keyboard
NOOBS allows you to select your language and keyboard after booting from the SD card for the first time and before and during software installation.
After installation, the Raspberry PI will boot up into the Raspbian operating system and automatically run a configuration program that allows you to change some system settings.
If you need to change your language and keyboard settings in the configuration program, you will find them under Internationalization Options.
Change your language under Internationalization Options → Change Locale
Change your keyboard settings under Internationalization Options → Change Keyboard Layout
3. Setup Timezone
In the configuration program, select Internationalization Options and then Change Timezone.
Select the geographic area that you are located in and then the city or region in that area that best represents the time zone you will need.
4. Start the Graphical User Desktop
The graphical user desktop environment (similar to a Windows 7 desktop) can be started from the command prompt after logging into Raspbian. Enter the following at the command prompt to start the graphical desktop: startx
You can also automatically boot into the graphical desktop by choosing Enable Boot to Desktop/Scratch in the configuration program (this is the most popular option).
5. Change Screen Viewing Area
There will usually be a black border around the contents of the screen. The border will most easily be seen when running the graphical desktop. Open up the Terminal window and type sudo rasp-config and adjust the overscan settings.
6. Update the System Software
It is best not to use WiFi for this. Connect the Raspberry PI to the Internet through an Ethernet cable. At the command prompt enter the following command:
sudo apt-get update
Now enter:
sudo apt-get upgrade
You can enter this command from a terminal window when running the graphical desktop.
7. Play a Video
Now for something fun. The Raspberry PI is capable of playing 1080p HD video which, for this article we will do from the command prompt. A video can be played from the command prompt using the application omxplayer and is run by entering the following at the command prompt:
omxplayer <video name>
Where <video name> is the name of the video to play that must be in the current directory (or folder).
8. Automatically Run an Application
To automatically run a command line application after switching on the Raspberry PI, first configure the PI to login automatically. Modify the .bashrc file in your home directory/folder (default home directory is /home/pi).
The .bashrc file is a hidden file. In the file manager on the graphical desktop, make the hidden files visible by pressing:
Ctrl + H
You will now be able to see the .bashrc file and open and edit it.
Add a line to the bottom of the file that contains the application that you want to run as you would run it from the command line.
The video below shows how to automatically run a video after switching the Raspberry PI on.
9. Make a Copy of Your SD Card
After all the time you spent editing and tweaking your Raspberry Pi interface, it is probably a good idea to make a full copy of your SD card to save the settings.
The idea behind copying or cloning an SD card (using Linux or Windows) is to make an image file of the SD card on your computer’s hard drive. The image file of the SD card can then be used to make an exact copy of the original SD card onto as many new SD cards as you want.


