


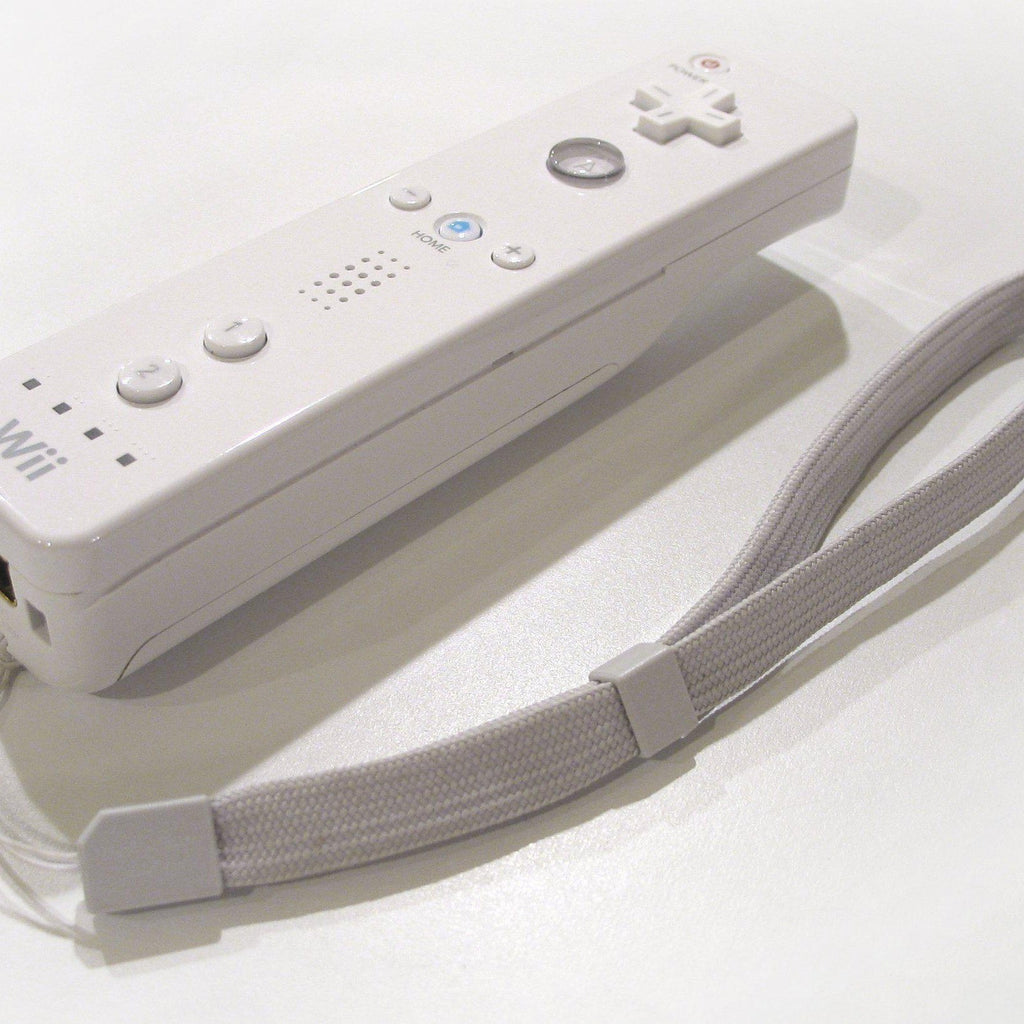

Wii Remote Image curtesy of Game Gavel
Over the course of recent years, it looks like the Nintendo Wii Remote, also known as the Wiimote, has become a necessary component in many creator’s toolboxes!
Following is an example of proof of what an asset the Wiimote has become: with the use of only a Raspberry Pi and the cwiid Python library, David Pride turned a widely used and ordinary piece of tech into a big digital computer graffiti spray can.
1. Overview: Using the Wiimote with a Raspberry Pi

While it is no longer being updated or supported anymore, the cwiid library is still a useful tool for creators who want to use the Wiimote in tandem with their Raspberry Pi.
Over the years, makers have used the Wiimote to control robots, play musical instruments, and create skateboards; the accessibility of the library when combined with the low cost and high availability of the remote make using this tool a piece of cake…or piece of “pie,” perhaps we should say in this instance.
Using a Wiimote, a Wii Sensor Bar, and a large display screen, David Pride hacked his way to digital artistic wonderment and gave attendees of the Open University Knowledge Makers event the opportunity to try their hands at wireless drawing. It’s kind of awesome.
OK, it’s all kinds of awesome. We really like it.
2. Components
To construct David’s digital graffiti setup, you’ll need:
• A Raspberry Pi
• A Nintendo Wii Remote and a Wii Sensor Bar
• A power supply and DC/DC power converter
• A large display, e.g. a TV or projector screen
• A 30mm × 30mm mirror and this 3D-printed holder

3. Synthesis
David gives the step-by-step instructions for setting up the Wiimote and Raspberry Pi on his website, including a link to the GitHub repository with the complete project code. The gist of the building process is as follows:
After installing the cwiid library on the Raspberry Pi, David connected the Pi to the Wiimote wirelessly via Bluetooth. After a bit of research regarding the onboard libraries of the Wii remote itself, he was able to access the infrared technology that lets it communicate with the Sensor Bar.
The 3D-printed case with which David augmented the Wiimote lets the user hold the remote upright like a spray can, while the mirror integrated into the mechanism reflects the IR rays so the Sensor Bar can pick up their signals.
The Sensor Bar detects the motion of the Wiimote, and this data is transmitted to turn the user’s external physical actions into works of art on screen.
Sounds wonderful!
If you’ve used the Nintendo Wii Remote for your Raspberry Pi projects, let us know. Perhaps in the future, you can attempt to hack your Wii Balance Board with just a Raspberry Pi.