How to Make Smart Glasses with Raspberry PI
How to Make Smart Glasses with Raspberry PI
In 2013, a small batch of Google Glass smart glasses prototypes was made available. They were designed to offer users a heads-up display (HUD) that resembled one from science fiction as they went about their regular lives. But they were a complete failure. That wasn't strictly due to a lack of technology; rather, it was due to the privacy issues and extreme unfashionably they raised.
Then, we had Infranix’s smart glasses work similarly but omit the camera.
Infranix Smart Glasses
Infranix uses a Raspberry Pi Zero W single-board computer (SBC), which is fastened to one side of the eyeglasses.
On the opposite side are a 1200mAh LiPo battery and charging circuit. A tiny microphone is used to record voice commands, which are subsequently translated into text using a speech-to-text application and used to trigger action through Python 3 user interface software.
The final element is the heads-up display. It was made by Infranix utilizing a tiny OLED display reflected off a sheet of clear plastic so the user can see it. While this wearable project isn't quite as well-done as Google Glass, it is nonetheless fantastic.
Can you make it on your own? Yes!
Why Raspberry Pi Zero w?
The brains behind these glasses are RaspberryPi 0w. The RaspberryPi zero w includes a simple camera interface, supports Bluetooth for wireless earbuds, has Python preinstalled, and easily connects to the internet. The RaspberryPi 0w is preferred because it has a lot more memory; precisely, the RaspberryPi 0w has 520MB of memory.
Steps of the DIY smart glasses
Supplies you need:
- Clear OLED
- Adafruit 500c
- RaspberryPi 0w
- Li-Po Battery
- PiCamera
- Wireless Headphones
- Soldering Iron
- Lead-Free Solder
- Ender 3 v2
- Filament
Applications you will need:
- PuTTY
- BalenaEtcher
- Microsoft Remote Desktop Classic
- Angry IP Scanner
- Cura
APIs you will need:
- Dropbox
- Twillio
- Wolfram Alpha
Step 1: Set up the Raspberry Pi
Install the Raspbian operating system from the official website first.
Unless you are an experienced computer user, you should select the second option (OS with recommended software). The OS will be flashed on a micro-SD card.
Step 2: Connecting the RaspberryPI to your Wi-Fi
Now that the OS image has been flashed into the SD card, we need to add a few files so that we may connect to the Raspberry PI wirelessly from our computer.
Reconnect the SD card to your computer, then use File Explorer or Finder to access its directory.
Step 3: Accessing with SSH
Your Raspberry Pi is powered up and ready to connect to your network using the "PWR"-labeled micro-USB port on your laptop. Please be advised that the Raspberry Pi 0w uses the 2.4 GHz frequency.
Therefore you won't be able to connect to it wirelessly if your network only supports the 5 GHz range. However, most networks support twain the 2.4 GHz and 5 GHz bands. If it isn't already, join the 2.4 GHz band with your computer.
Step 4: Enabling the GUI
So that you won't have to worry about connecting to the incorrect RaspberryPI 0w if you ever buy another one, we need to change the hostname before we enable the GUI. After entering "sudo raspi-config," a new window will appear.
Enter your new hostname after selecting the second option using the arrow keys to navigate. Don't close this window just yet; we still need to enable the SSH server. To do this, go to "Interfacing settings," scroll down to "SSH," and press Enter.
We've finished working in this window, for the time being, so click Finish and restart. SSH is now activated and ready for usage, but we still need to install xrdp.
Step 7: Viewing the GUI
Close out of your Putty session and go to the remote desktop now that you are ready to use the GUI.
In the top right corner, select "Add," then select "Desktop," and then type the IP address of the Raspberry PI 0w. Clicking on the tab containing the IP address will allow your Raspberry Pi to wirelessly access the GUI desktop as long as it is turned on.
Step 8: Installing Libraries
Although the Raspberry Pi already has Python installed, we still need to install some libraries for the glasses. You can find commands online to install the packages.
Step 9: Connecting Wireless Headphones
Ensure your Bluetooth headphones are in pair mode by holding the power button while you wait for the LED to begin flashing quickly if you're using the ones I suggested.
Select the GS tab by clicking the Bluetooth symbol located at the upper right corner of the screen when your headphones are in pair mode. The LED should cease flashing if it couples, and a green check mark should appear next to that selection.
Step 10: Making the RaspberryPI Speak!
We will provide some text to Espeak to test it, and perhaps it will dictate it back to us! Turn on your headphones if they aren't currently connected. You should hear a talking Pi if you enter the following command into the shell editor!
Note: Replace all instances of "XX:XX:XX:XX:XX:XX:XX" with your wireless headset's MAC address.
espeak "Hello World" -ven+f3 -k5 -s125 --stdout | aplay -D bluealsa:DEV=XX:XX:XX:XX:XX:XX,PROFILE=sco<br>
Step 11: Enabling I2C
Finally, we have reached the transparent OLED, one of the greatest features of smart glasses. Here, we can give the user information like the time, the temperature, and general data. I2C must be enabled since it isn't by default.
Enable I2C in the same location where you activated the camera module, then restart.
Step 12: Wire It!
The wires from the driver to the RaspberryPi must be connected by soldering. 725°F/385°C is the recommended soldering temperature.
Remember to turn off your Raspberry Pi and unplug any peripherals.
Step 13: Prepare the Python File
Now that the camera, transparent display, and Raspberry Pi are operational, we can begin creating the code.
Ensure that your wireless headphones are plugged in before attempting to run the code. If everything goes according to plan, the display should turn on, and the chatbot will prompt you for your instructions.
Step 14: Power it up
You now have the basic structure of smart glasses. Even so, we're still providing power via the micro-USB connector.
Most of us don't want to plug our glasses into the outlet to turn them on; therefore, we should probably solve this.
Step 15: Assemble
One of the final processes is printing the assembly now that our smart glasses' internals has been completed. The battery circuit, Raspberry PI circuit, and 3D printing should all be separate components.
Threading the wires through the cover plates is necessary before connecting the battery to the Raspberry PI.
Step 16: Final Test
Now, we ought to be prepared for the last test! Switching on your RaspberryPi is as simple as turning a switch.
A faint green and red light should be visible inside the right earpiece if everything is linked properly.
FAQs
- What technology do smart glasses use?
If smart glasses can track poses, it qualifies as an augmented reality tool. An optical head-mounted display (OHMD), embedded wireless glasses with a transparent heads-up display (HUD), or an augmented reality (AR) overlay are used to superimpose information onto a field of view.
- Why did smart glasses fail?
Google Glass wasn't a big hit; it was a colossal failure. Despite technical issues and privacy worries, Google Glass didn't fail because it lacked a creative idea. It failed because its first target market of daily smartphone users was the incorrect market for what we refer to as an "undead product."
- What are XR glasses?
Augmented reality (AR), virtual reality (VR), mixed reality (MR), and everything in between is all included under the name "Extended Reality" (XR). Although AR and VR offer a variety of ground-breaking experiences, XR is powered by the same underlying technologies as AR and VR.
Bottom line
All in all, this is just a comprehensive list of steps; if you are an expert already, you can get it right. Otherwise, you can always get professional assistance from someone who has already performed this project.
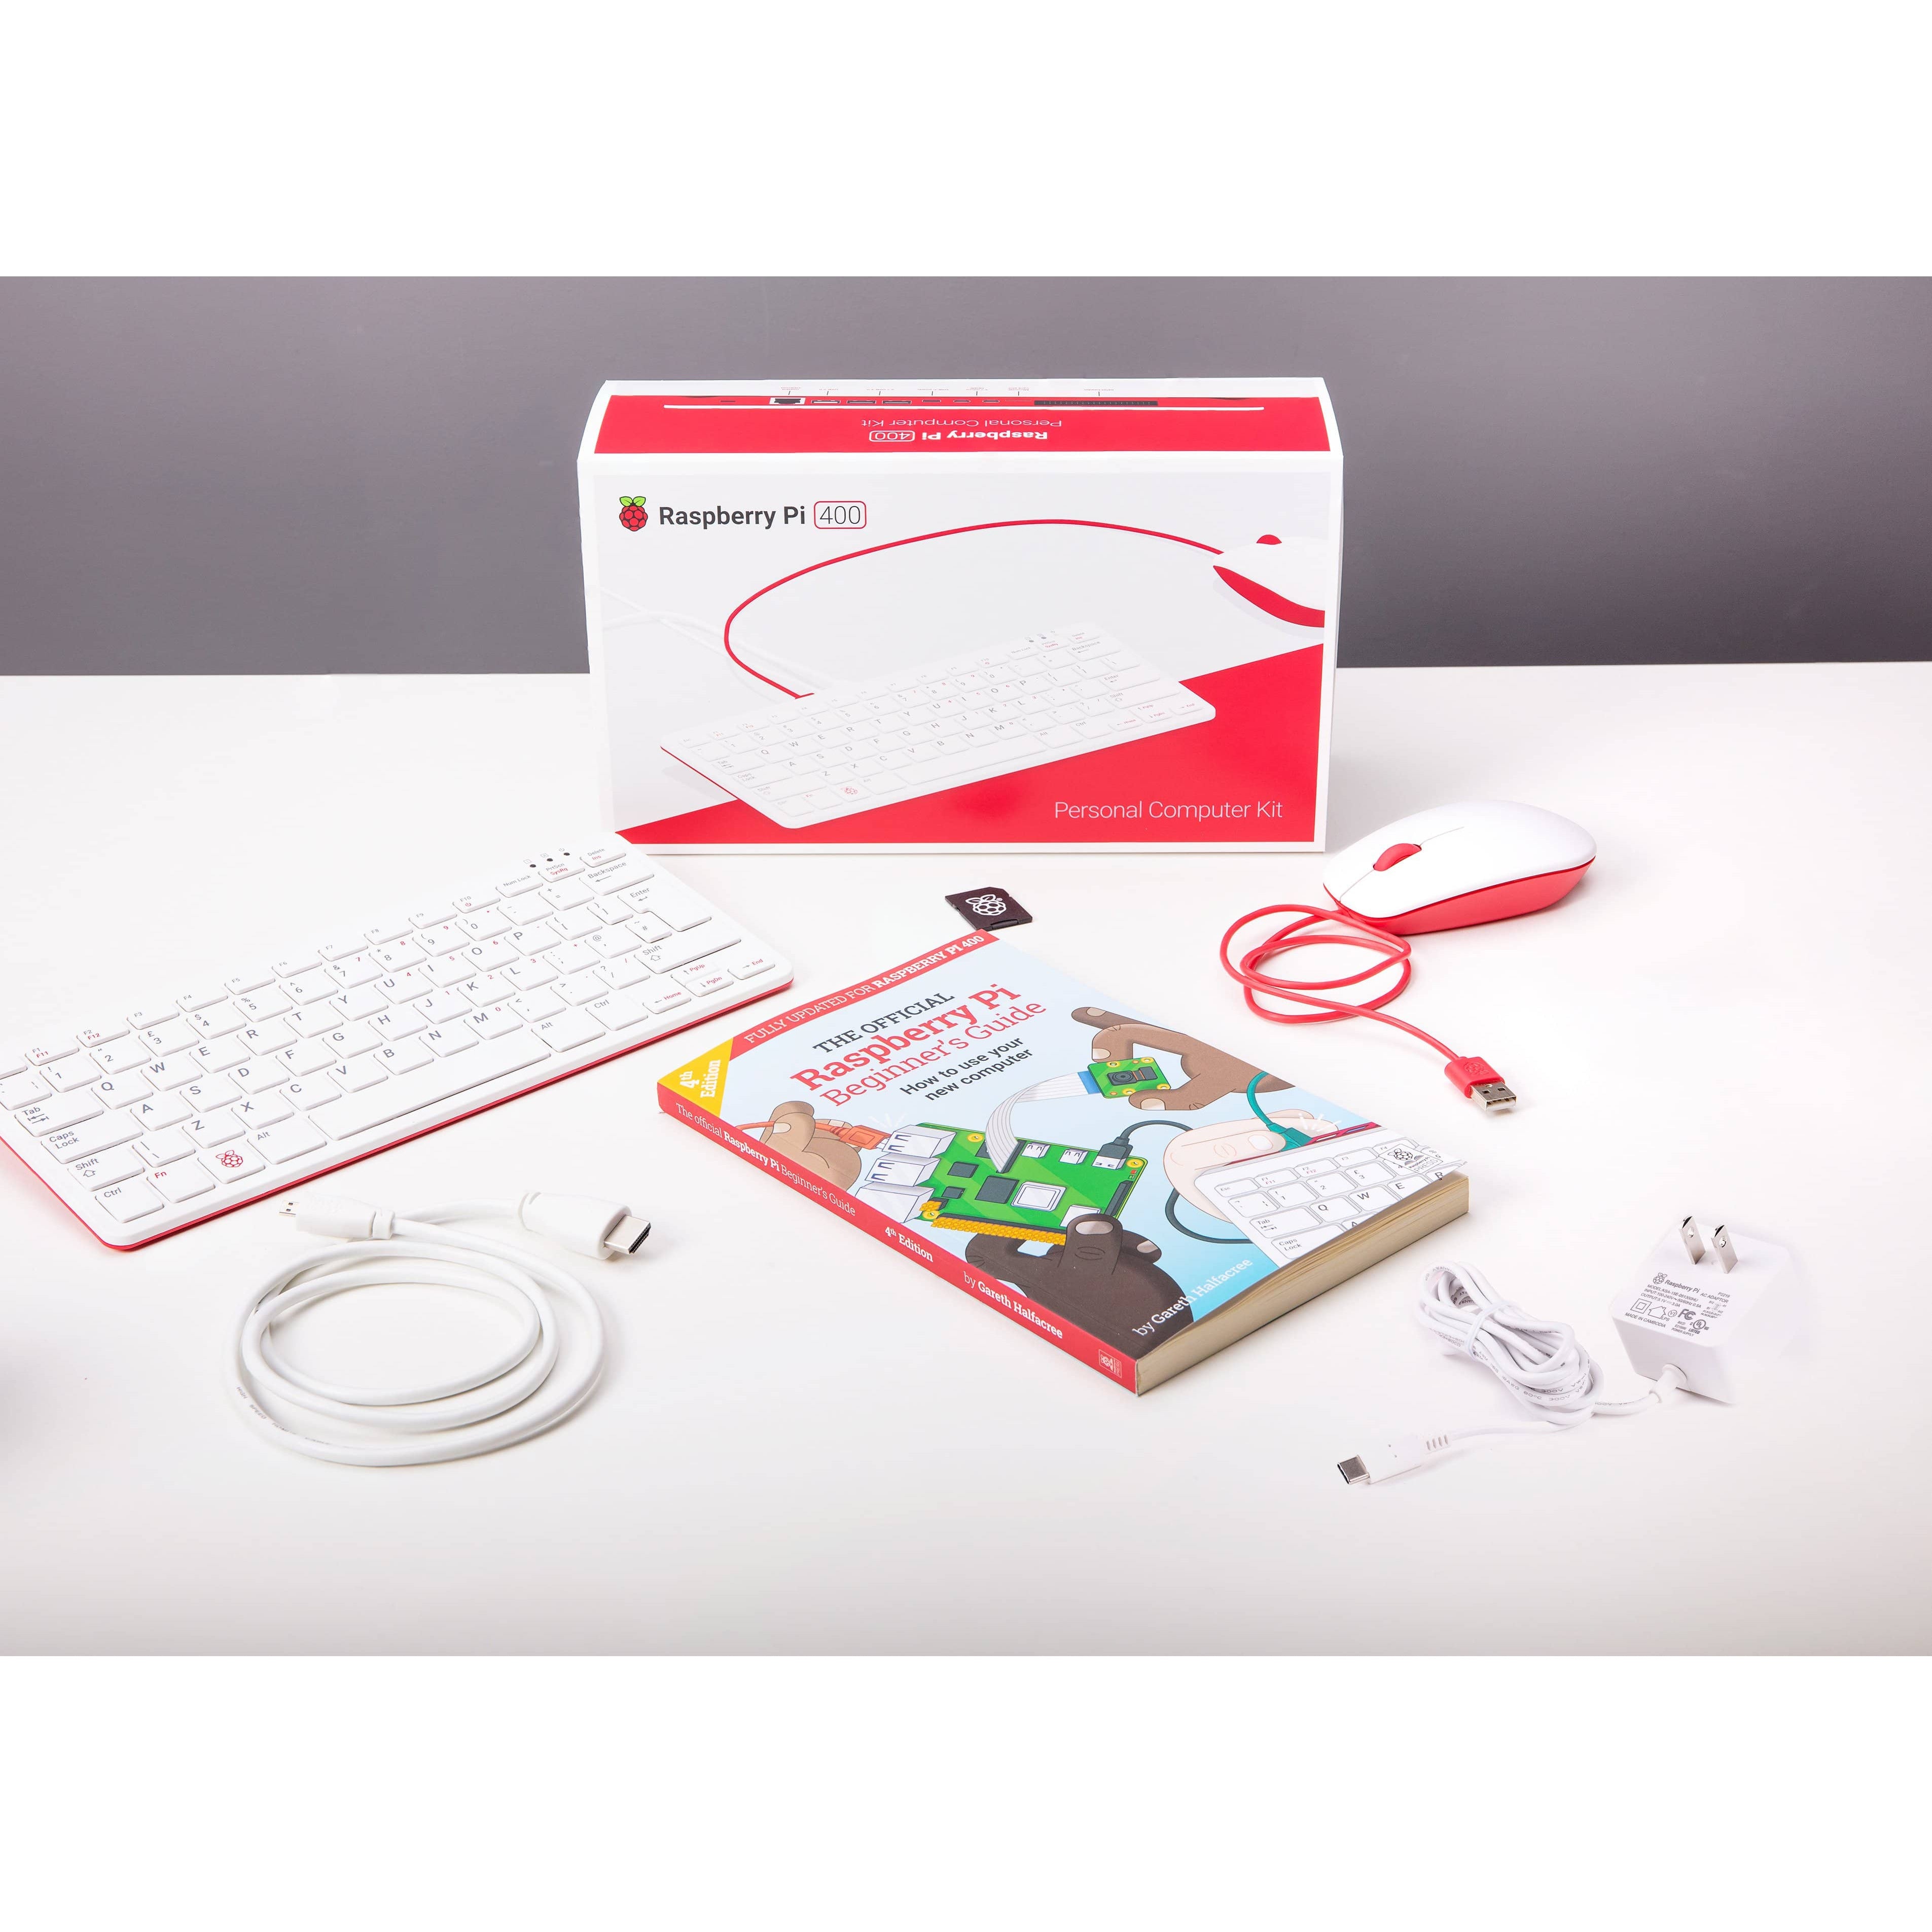
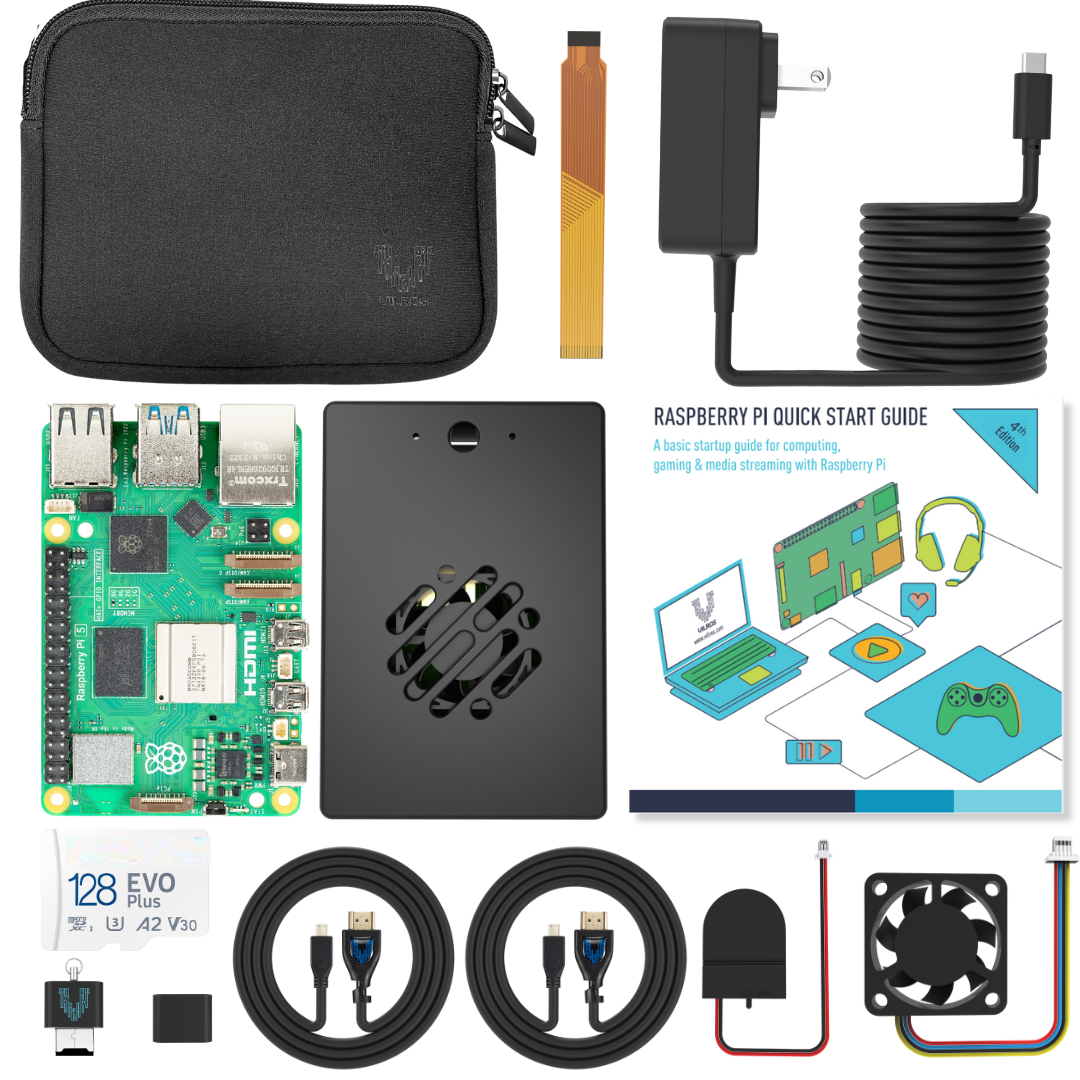
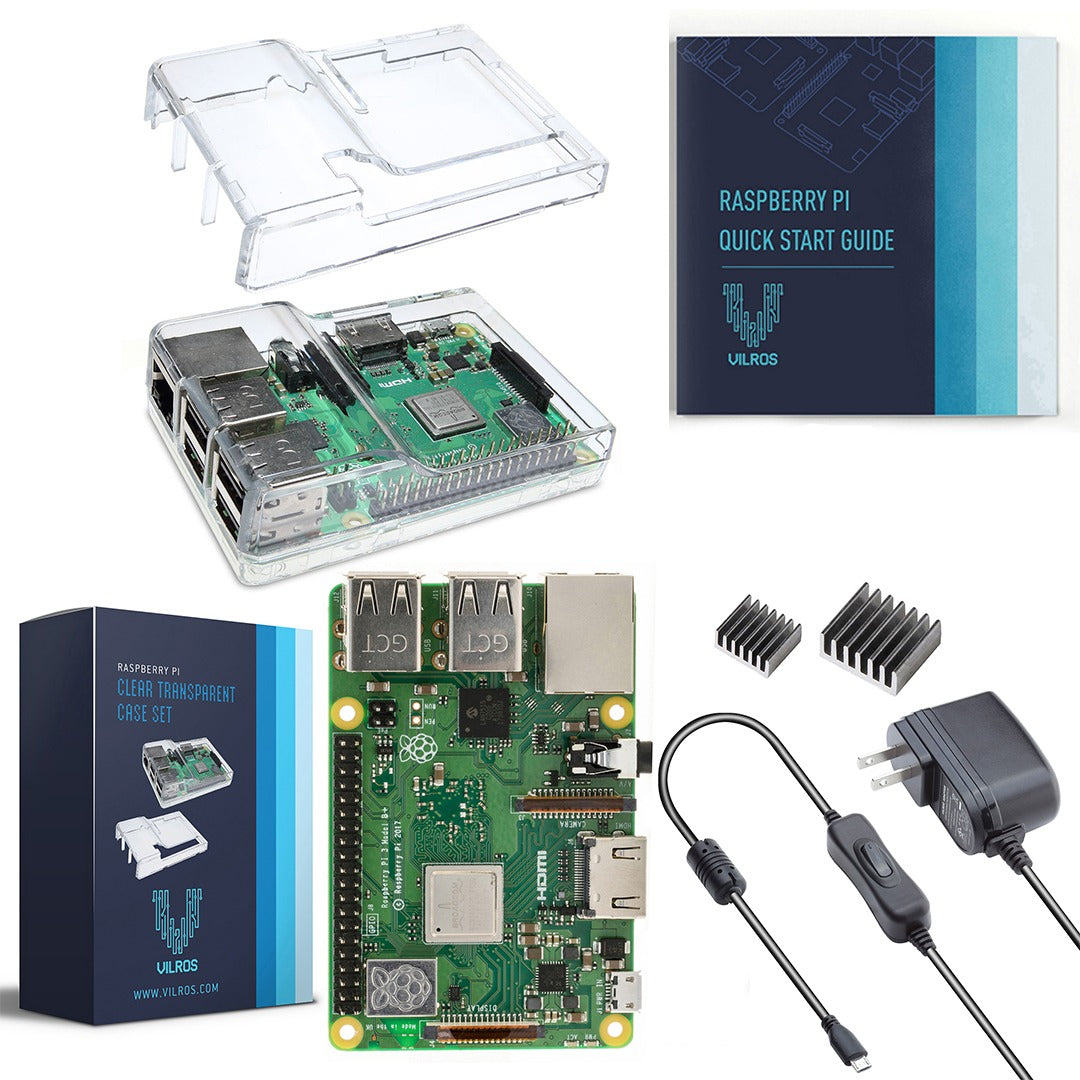
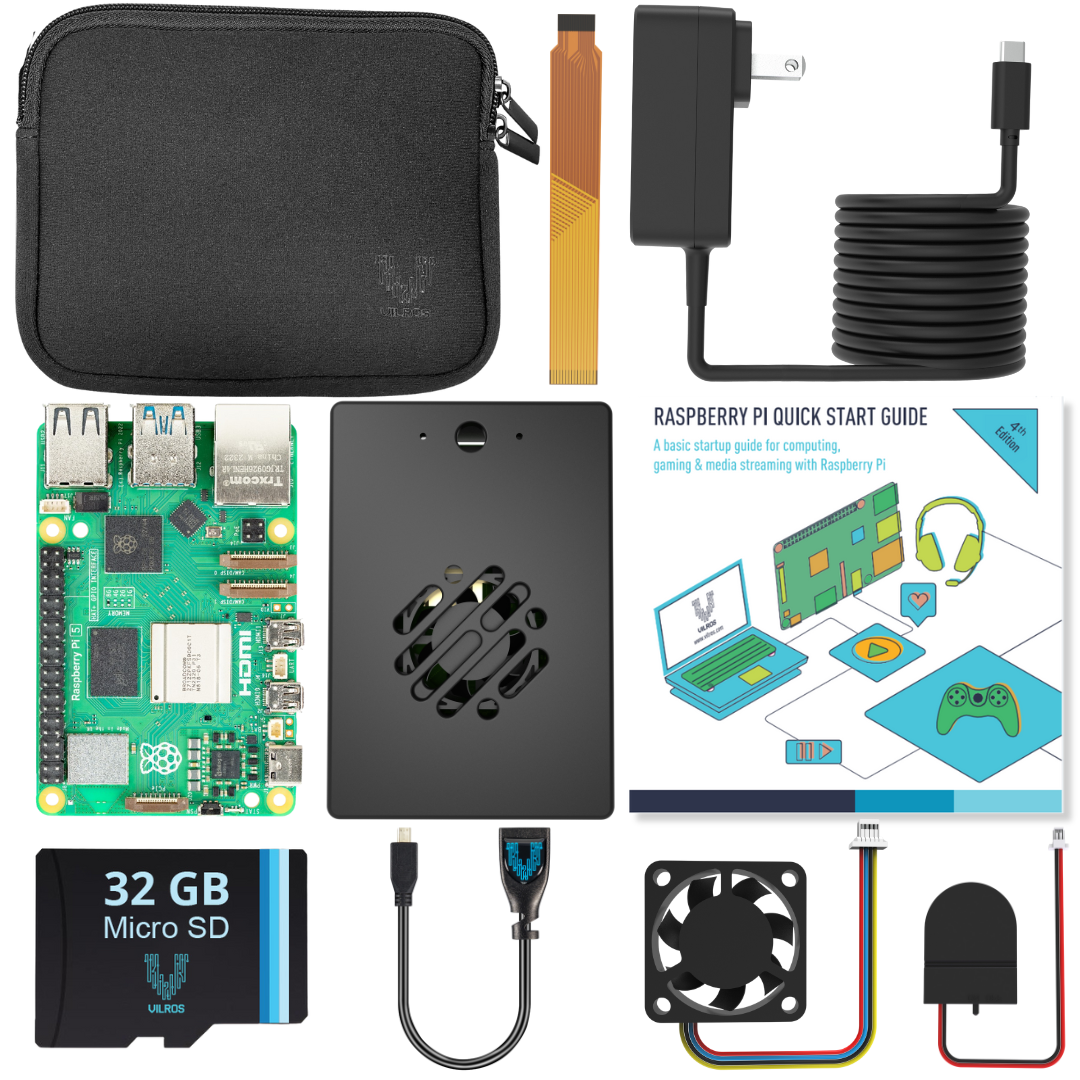
If you want the accessories and Raspberry Pi to get started, Vilros has all you need. Just fill up your cart and order now.


