


Vacations are awesome…but there’s always a concern about how to take care of your pets while you’re away. Luckily, you can now make sure your dog is fed automatically with this electronic dog feeder station!
There are lots of dog lovers and dog owners on our Vilros team – so we were super excited to see this project inspired by Paulo Soares that can help you make sure your dog is fed automatically using the power of Arduino.
Here are the major parts, tools, and software you’ll need:
- Arduino Nano R3
- Arduino IDE
- A Real Time Clock
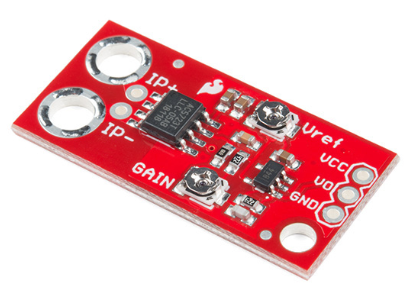
- A Low Current Sensor Breakout (Paulo Soares recommends this version from SparkFun)
- A 12-volt DC Motor with Gears
- A Generic 3D Printer
- A Soldering Iron
1. Key Features
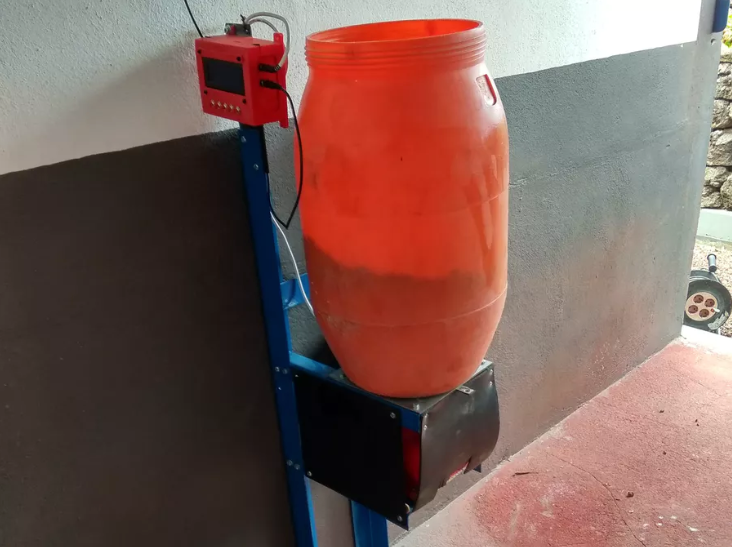
Here’s how this project works: it starts with 2 different alarms you will program. When the alarms are triggered, the feeding mechanism starts.
The feeding mechanism is worm gear that’s driven by the motor, so that food will pour from the container into your dog’s bowl. There’s also an output so you could connect it to a 12V water valve if you want your dog to get both food and water (which, of course, you do – Fido will thank you!)
FYI, your motor will be protected by a food blockage feature that senses when to release. There’s also a safety error feature, so that the feeder doesn’t constantly keep moving. (After all, you don’t want Fido to accidentally eat too much while you’re gone).
2. Electronics
To set up your electronics, you will need your Arduino Nano, the current sensor, the motor, and also a RTC module and a LCD screen.
When Paulo Soares first developed this project, he used a perforated board, which made this feeder quite large. Now he’s working on a second version.
Maybe you can contribute and suggest a better way to construct the feeder?
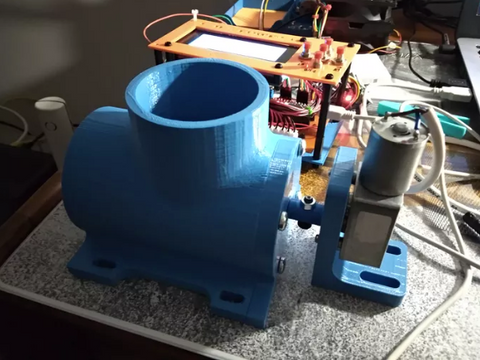
3. Feeder System
The feeder works by a worm gear that’s driven by the DC motor.
Funny story: the first time Paulo Soarers attempted this project, the construction turned out to be too small for his dog’s favorite food!
It’s a good idea to check with Fido’s food preferences first and make sure your build will match!
4. Code
Once your feeder is constructed, you’ll want to get your Arduino set up.
Here is the code you will need to get your new dog feeder working!
5. Wiring
Next, you’ll want to make sure you wire all of the components of your new automatic dog feeder correctly.
You can refer to this Schematics Guide to make sure you’ve got the wiring right.
If you want to discover more details about this project or check out the steps with images and more instructions, be sure to check out this project tutorial.
Congratulations! Now you should have your very own automatic dog feeder. Fido will be thrilled!
All of us here at Vilros hope your dog will be happy, healthy, and well-fed with the new feeder you’ve created. If you’d like to explore more fun electronics projects using Arduino or Raspberry Pi, then come on back to our Vilros Projects blog and check out more creative project ideas to try!