Search Result
0 productsSelected Filters
Category
Case Color
Vendor
Type
Price Range
The Pi 400 is a terrific buy. Well worth the money. Quite happy with the unit in the Pi Dock.
I use this as a portable backup computer and it works exactly as expected. I am happy that it comes already installed with the card and OS and has the basics to build from. IMO very fun starter computer from anyone needing a simple computer to learning how to program.
I have enjoyed it tremendously. It is so much faster than earlier models. I made a goal of learning Linux & making good progress. I really look forward to the next version, Pi-5. The Pi400 is super.
Im using it for a media center, i bought a ir remote for it. It was plug and play great buy
I bought this for my 6yo son who has an interest in programming, computers, and (more importantly) robots. While he has a long way to go I felt this was an excellent start. Chose Vilros because they were local and the only group I found that included a mouse in the description. Shipping was great with a tracking number delivered the day it was shipped. Packaging was good and everything was worked. Only issue that I found was the product itself, it does not come with an audio jack. It does have Bluetooth capabilities but I expected an audio jack. That is neither a Vilros problem nor a huge issue with the RasPi 400. Definitely a five star transaction. He is happy, I am happy, and we both look forward to this next stage in learning.
Raspberry Pi 400 Kit
This item on its own will incur a shipping charge. Add an Accessory Bundle Designed for this kit to get free shipping. The Raspbe...
This is my first pi. I wanted to build my own arcade machine and setting up retropie (once I figured out what I was doing) was relatively straightforward. Especially with ssh and all the guides out there.
Overall, I had a great experience building my Raspberry Pi 5. It was simple to put together and launch. The web tutorials were very good, and I was very confident in building my Pi. My only problem is the microHDMI video output. I think a mini would have been better. It is easier to find mini-to-mini or mini-to-regular HDMI cables. I know it came with two micro-to-HDMI cables, but maybe one should have been micro-to-mini, or for a few dollars more, add an adaptor that you know will work on Pi video output.
My fourth Pi, first with Vilros. Best kit yet. I opted for the 8GB with alloy case. Very sturdy, got it put together and running on external M.2 NVME with ease. Configuration was a snap, especially the VNC as I like to run the Pi standalone and remote in with gui. Performance in all areas far exceeded my expectations.
Wanted a starter kit so I didn't have to collect a bunch of parts for a PI5 project. Everything was really good with the exception of the length of the wiring for the case mounted fan. It's just long enough to get the connector on and case assembled without any slack. Watch the video an follow the instruction with the wiring as you assemble the case (I thought I did) but ended up having the wire get sandwiched between the CPU and Thermal pad as the case went together. Ordered 8G with the deluxe aluminum case, all nice! If the wire for the fan was a bit longer 5 out of 5.
I’m new to Raspberry Pi but this is a nice little kit. Good quality components.
I’m using it as a server for my smart home and it’s working nicely.
I’m very happy with it so far for my purpose.
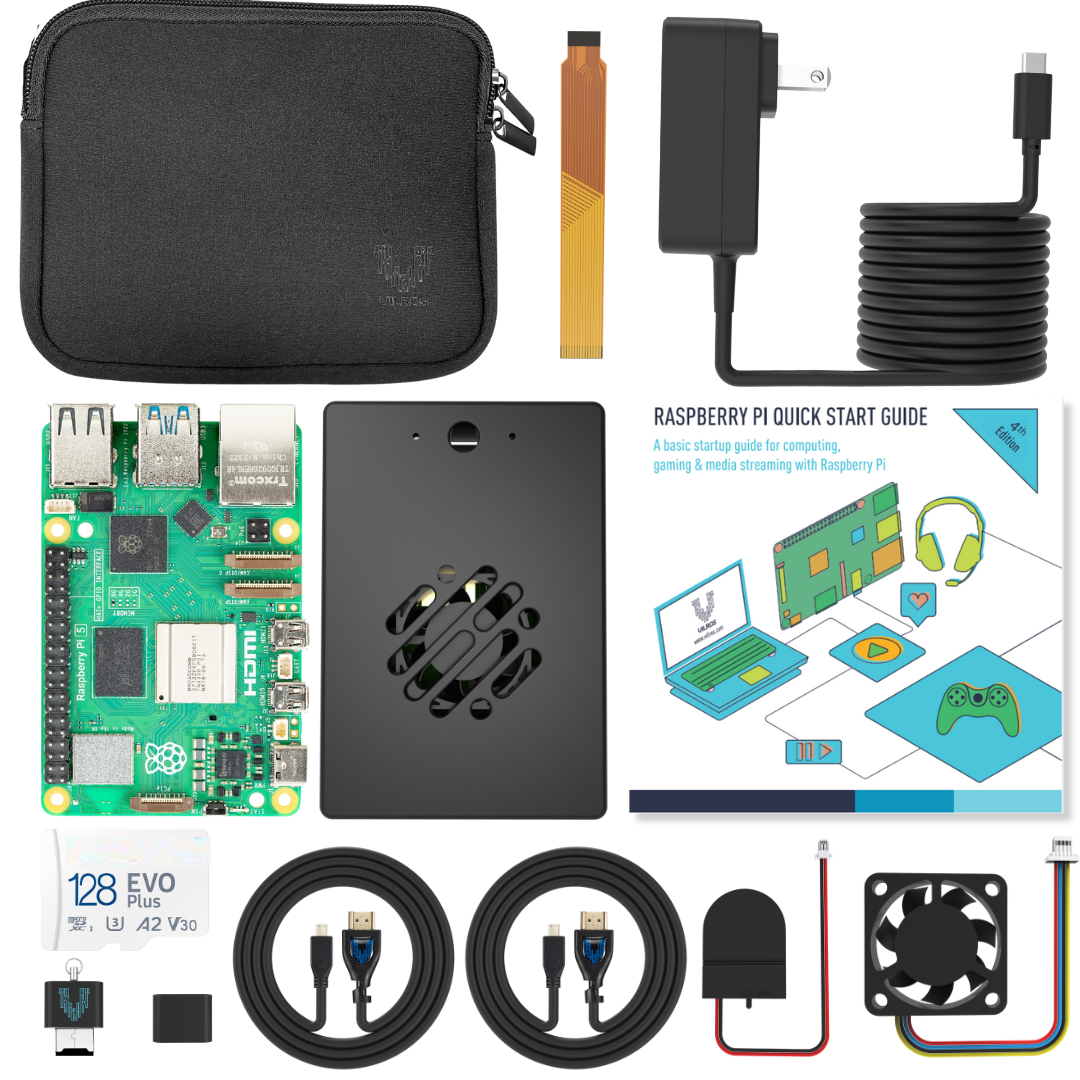
Vilros Raspberry Pi 5 Complete Starter Kit
This flexible computer circuit board is can take the place of your desktop computer, and be used for a wide range of pragmatic and non-pragmati...
While I wish there wasn't a supply chain issue to be able to purchase standalone rPi boards, the starter kit not only gets one the board, but other necessary components needed to get up and running. So the price matches the value and convenience of having everything up and running. The case is nice as it allows access to GPIO pins and ease of switching SD cards in and out. Power supply with the on off switch is a nice touch. The heat sinks are also appreciated. The only thing that would make it even better would have been to include an SD card or HDMI for the price, but I already have probably one too many HDMI cables and SD cards are obtained easily enough on their own. No complaints otherwise.
I love the versatility and starter kit of the Pi3. Vilros is outstanding on quick and accurate delivery
Excellent product and quick shipping! I will definitely shop here again!
Everything came as stated and works great
This kit shipped quickly and arrived in good condition. Perfect basic kit for my 11year old nephew to start tinkering. still need to get a hdmi and micro sd, but that's easy. Overall great kit for a good price.
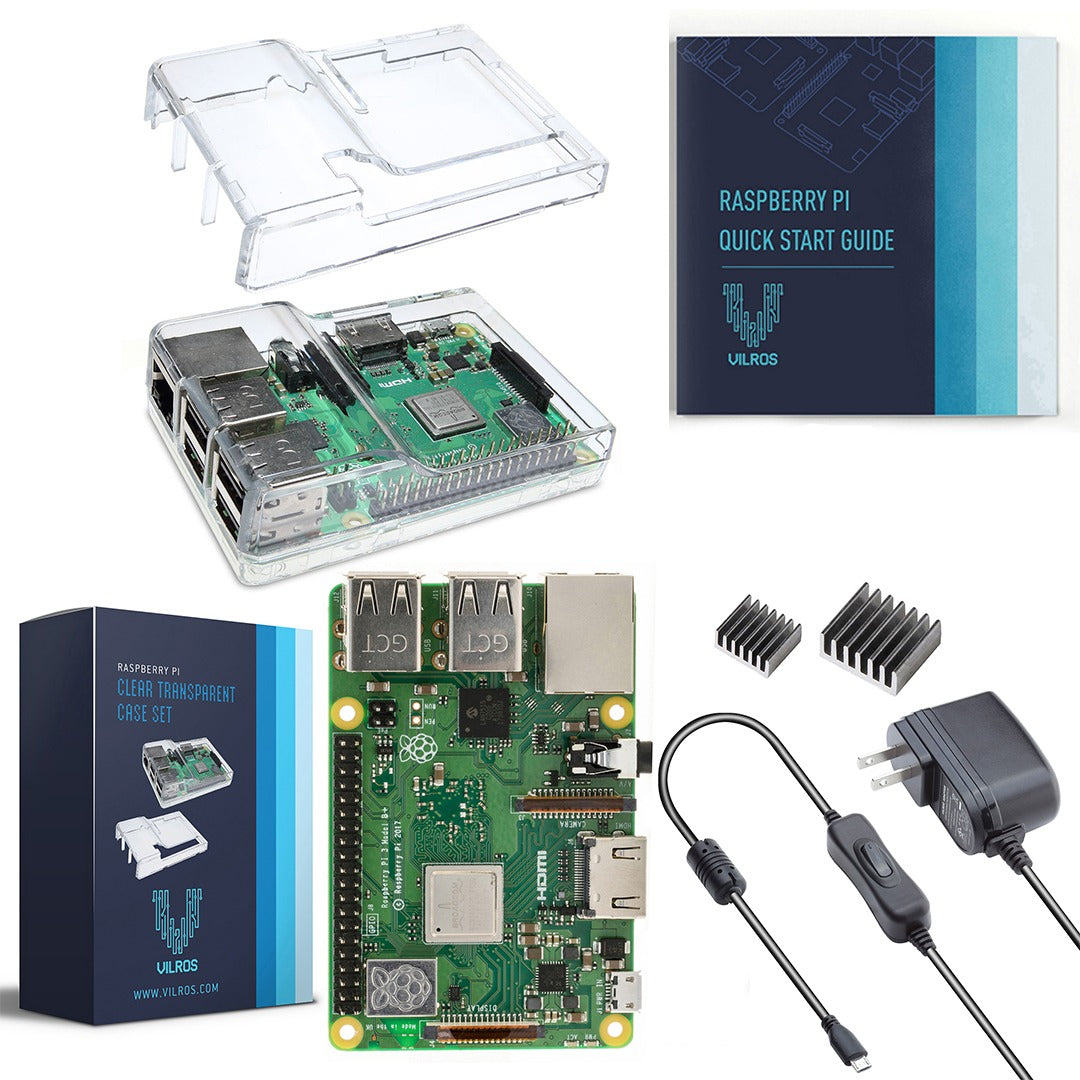
Vilros Raspberry Pi 3 Model B Plus Basic Starter Kit
This flexible computer circuit board is can take the place of your desktop computer, and be used for a wide range of pragmatic and non-pragmati...
I can't believe how fast retropie games run on the Pi 5!
The little RPI 5 is amazing and I especially like the availability of Mathematica
with RPI boards. I am a bit of a novice with programming so I would appreciate it
if the ability to connect with a printer was included in the software. I have
never been able to program it, in my RPI 3 or RPI 4. I bought the starter kit-
don’t know why- I already have cables and good cases with cooling fans. The basic
kit comes with a clear plastic case, which doesn’t seem to fit my board.
In total, I would still give my purchase 5 stars because of the overall
capabilities of the RPI 5.
I was astonished by the quality. This is much nicer than i ever imagined. The acrylic clear plastic case is very complementary and is of very nice quality with plastic to peal off each surface. It looks nice function nice, the baggy is great it was also very shocking quality, nice and soft extra padding, and compartment for stuff like sd cards. I have been using it for about a month, it's only been off and not being used while i'm sleeping. I'm a regular power user for coding and games like Fallout 76. It may not play Fallout 76, but everything else is pretty unbelievable. Web stuff like youtube is crazy good, i use it on a 4k screen for surveys and google play games all day, it's better than an xbox experience for them never played Candy Crush it was much more interesting in 4k on a big screen. it's very shocking quality with all of it's tasks. My big desktop has been unnecessary. I wanted one to run as a web server and data science from school, this is way too nice and useful though. I'll have to buy another or a used, I can't leave this one alone has already made my life extremely convenient and has become extremely personal right away. Really could never leave this one alone by the router for webpage stuff like planned. It really goes through files like an animal. Their may even be small tasks this is better than my big pc, for what it does. It's a fascinating fun useful experience . This my arguably be my best $100 spent , this is a very nice kit, very happy with it! :)
Everything needed to get started. The video on the case is not that great. the presenter has beautiful nails but rushes through the setup with little explanation.
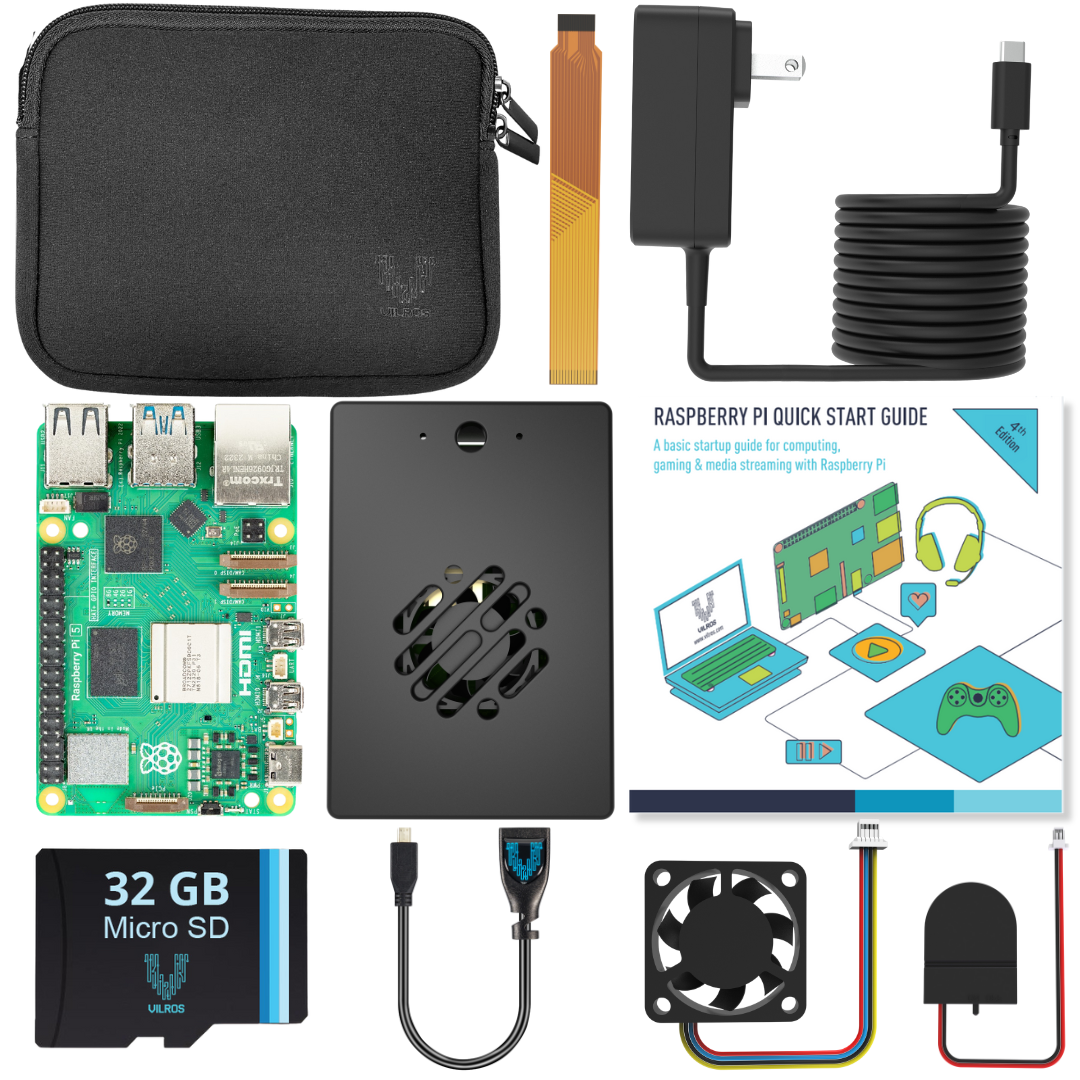
Vilros Raspberry Pi 5 Basic Starter Kit
This flexible computer circuit board is can take the place of your desktop computer, and be used for a wide range of pragmatic and non-pragmati...
This search returned no results.


