How to make a Raspberry pi smart bartender?
How to make a Raspberry pi smart bartender?
How to make a Raspberry pi smart bartender?
Don’t feel like going to a bar with friends, but a good cocktail can really set the mood right. Now, this seems like a huge problem.
Not if you are a little bit of an engineer and a nerd. Today, as DIY has taken over before the robots, everyone is a bit of an engineer.
Indeed, sometimes, things simply don't taste well when the mixing ratio is slightly off. We get it; it isn’t easy to make a quick cocktail that will end up in great taste. Too tired to make it for yourself?
Build yourself a bartender robot using Raspberry Pi
Let your friends feel a little jealous of you!
We will work with you to create a smart, Raspberry Pi-powered bartender so you can mix up to 6 ingredients at once to make anything from a rum and coke to a long island iced tea.
The bartender has the capacity to combine more ingredients, can be set up to make an infinite number of beverages, and can be integrated with Google Home and Alexa.
The bartender's code allows you to add an endless number of beverages to its repository, and it has two simple buttons and a page for configuring the cocktails.
Things you need to build a bartender
Surrounded by friends, family, and a perfect cocktail by your customized bartender - a recipe for a perfect life!
The most significant thing you need is to have a passion in your blood to enjoy a home-stay party. Lockdown has somehow convinced us for it anyway. Once you have a bartender in your bar, you can invite friends to your place too. A small, intimate gathering to enjoy a great cocktail and a conversation leads to less frustration in life.
So, gather your supplies:
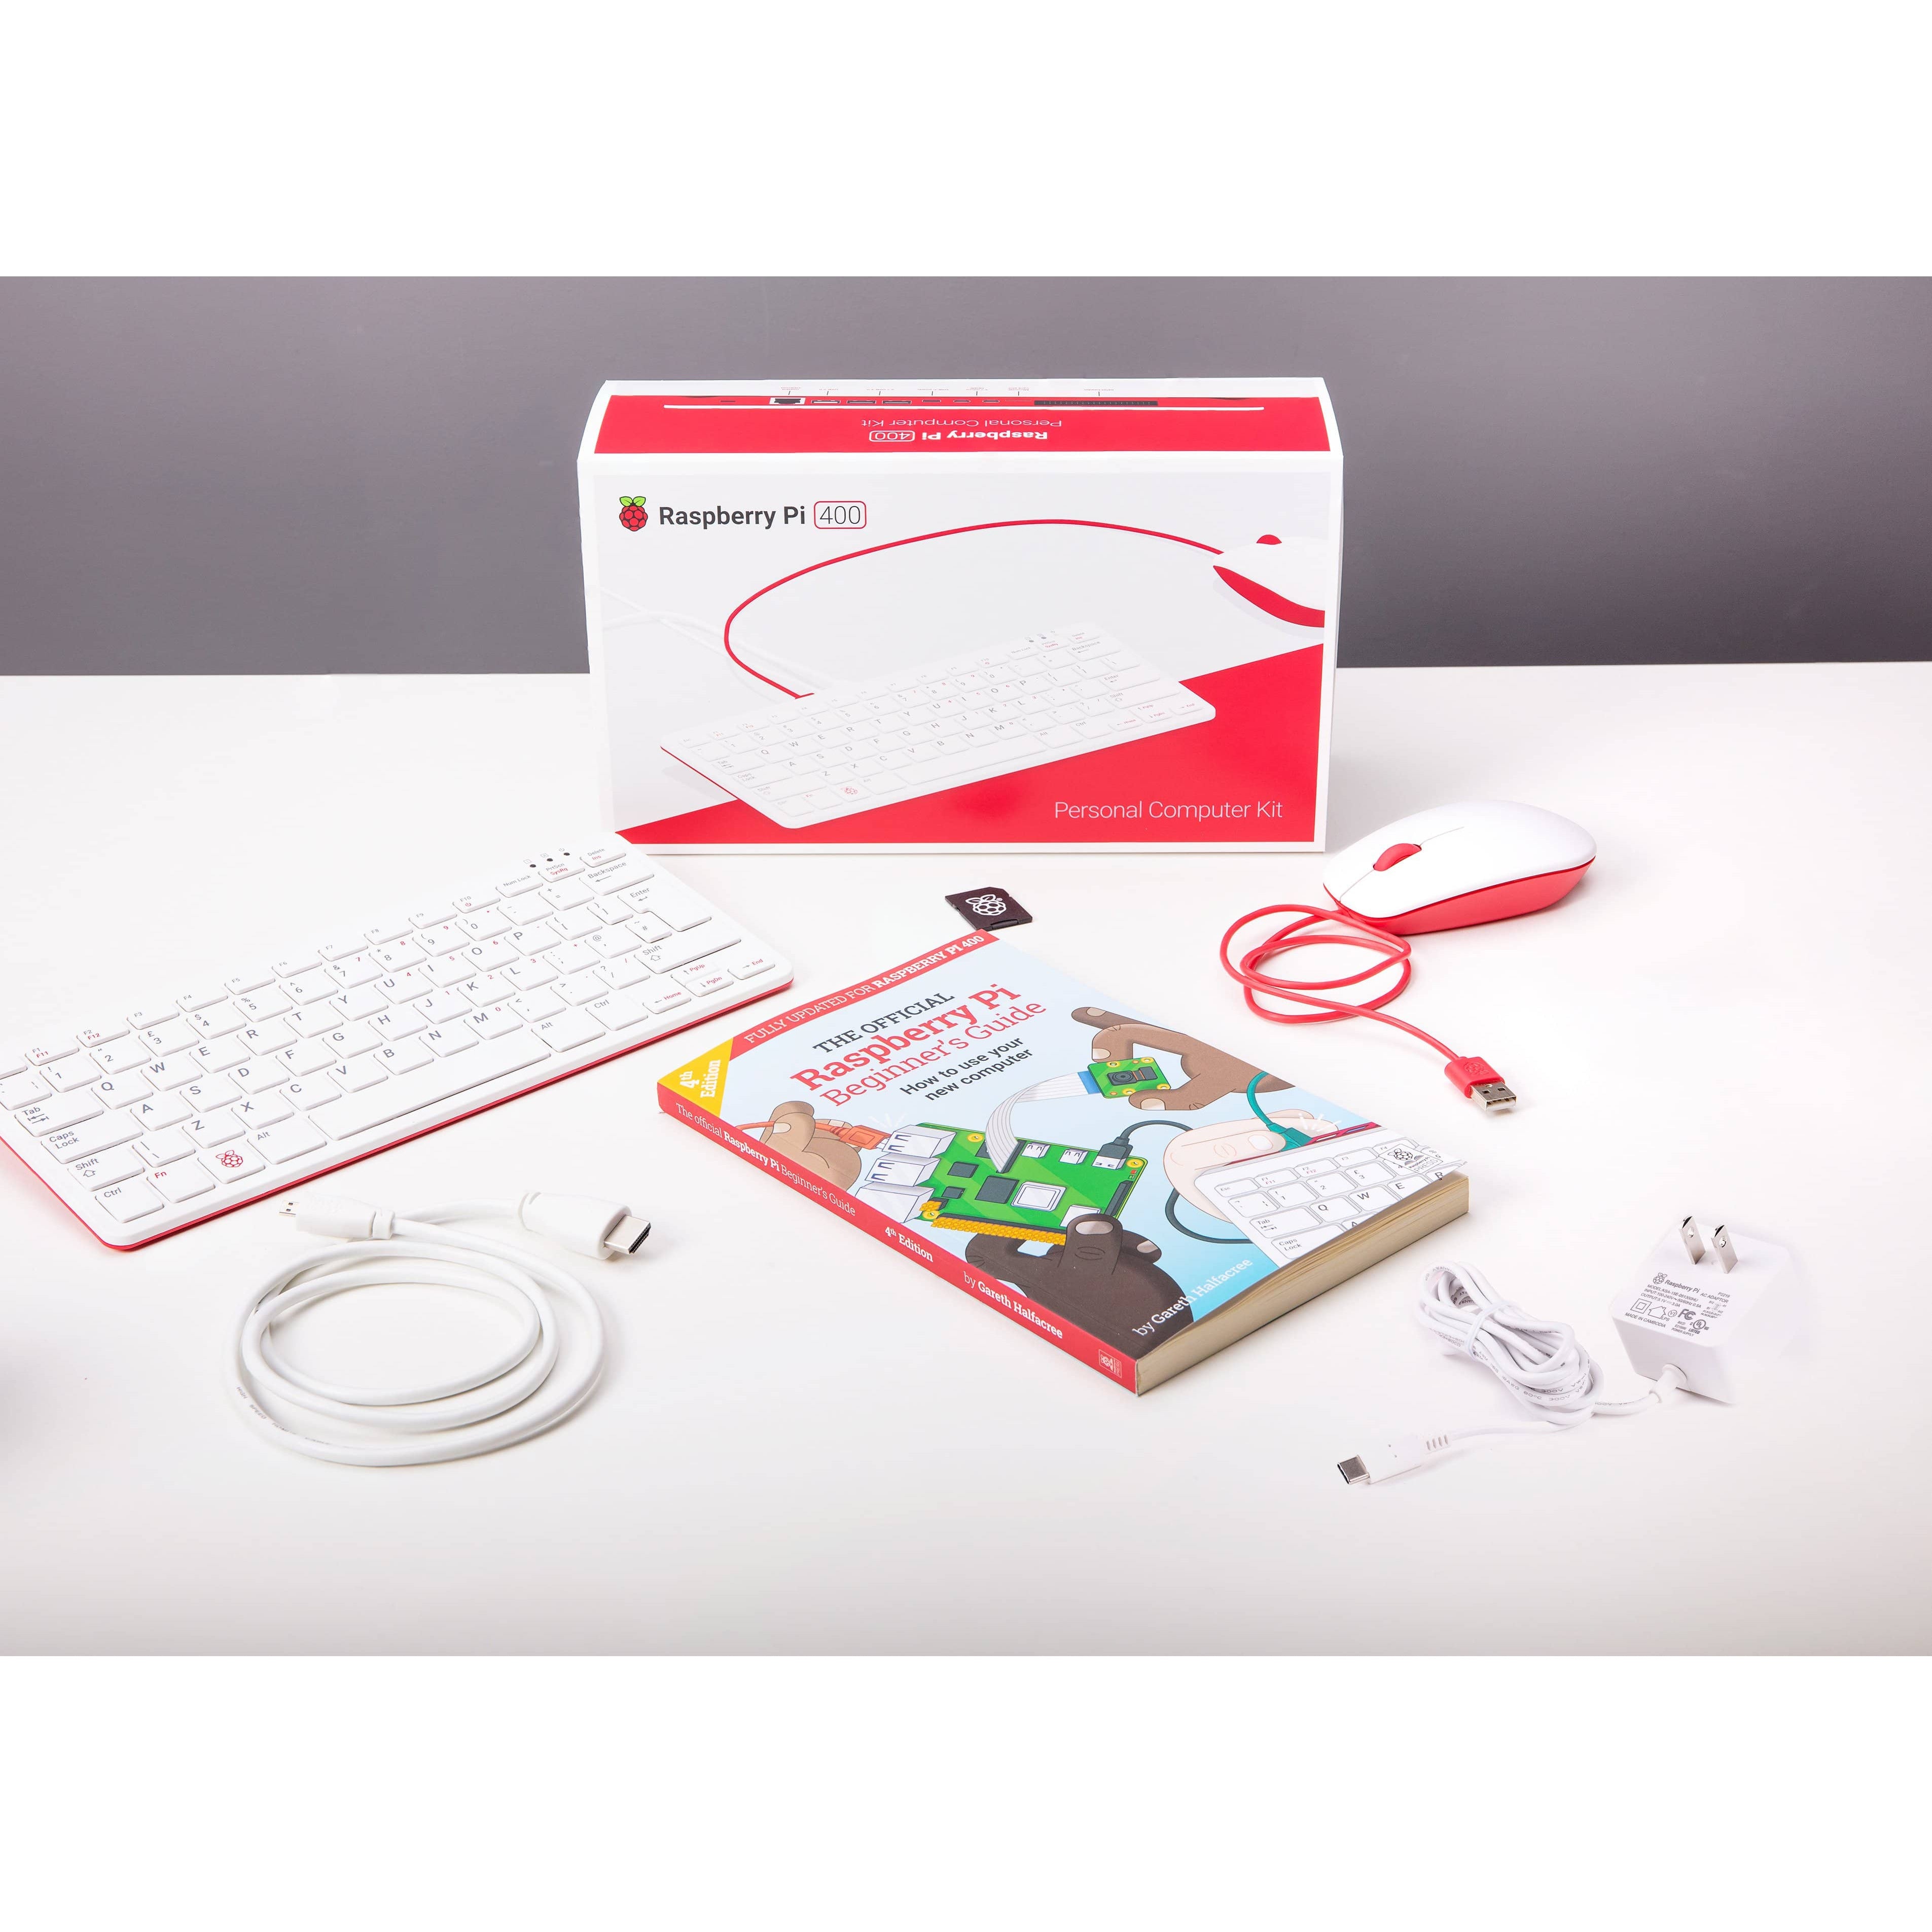
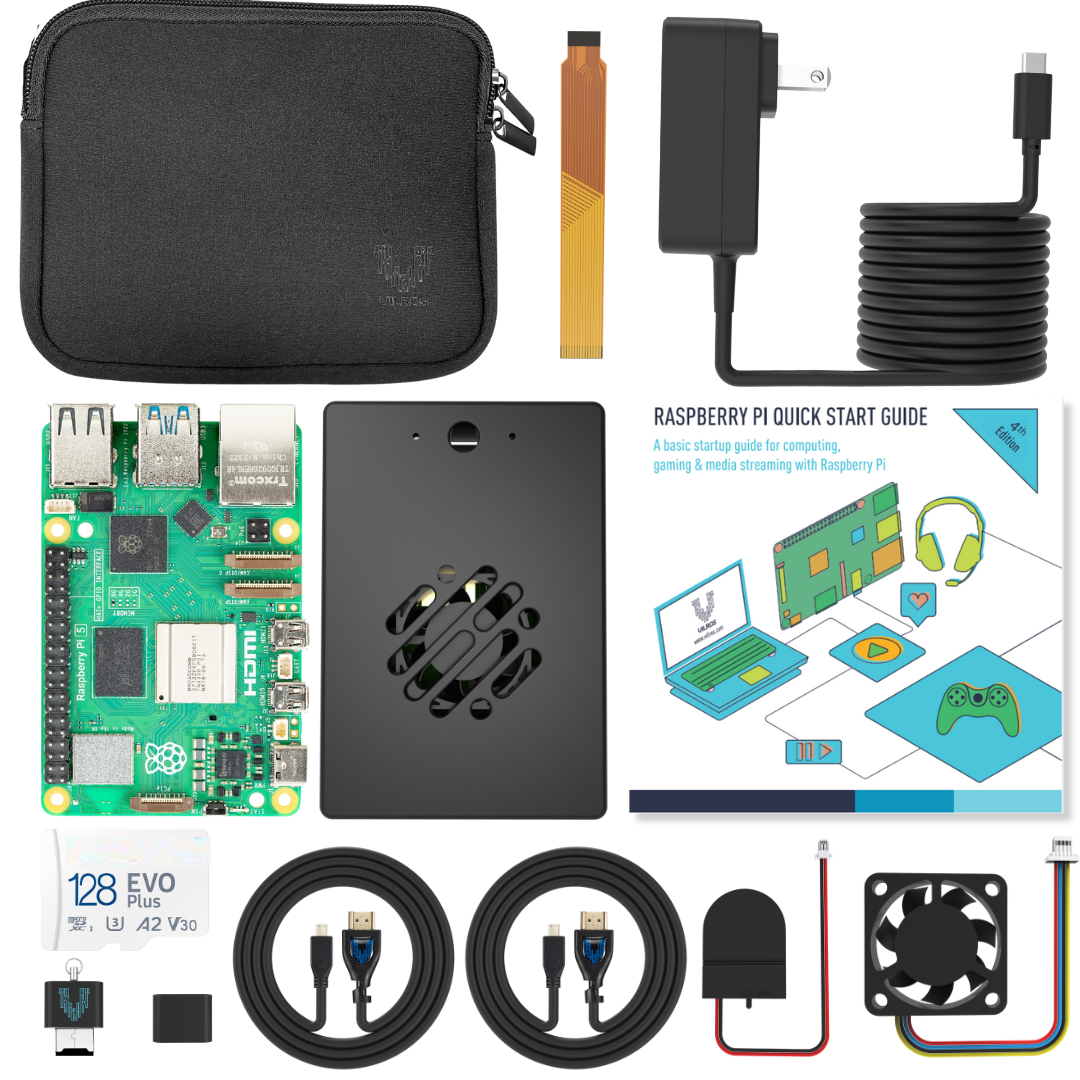
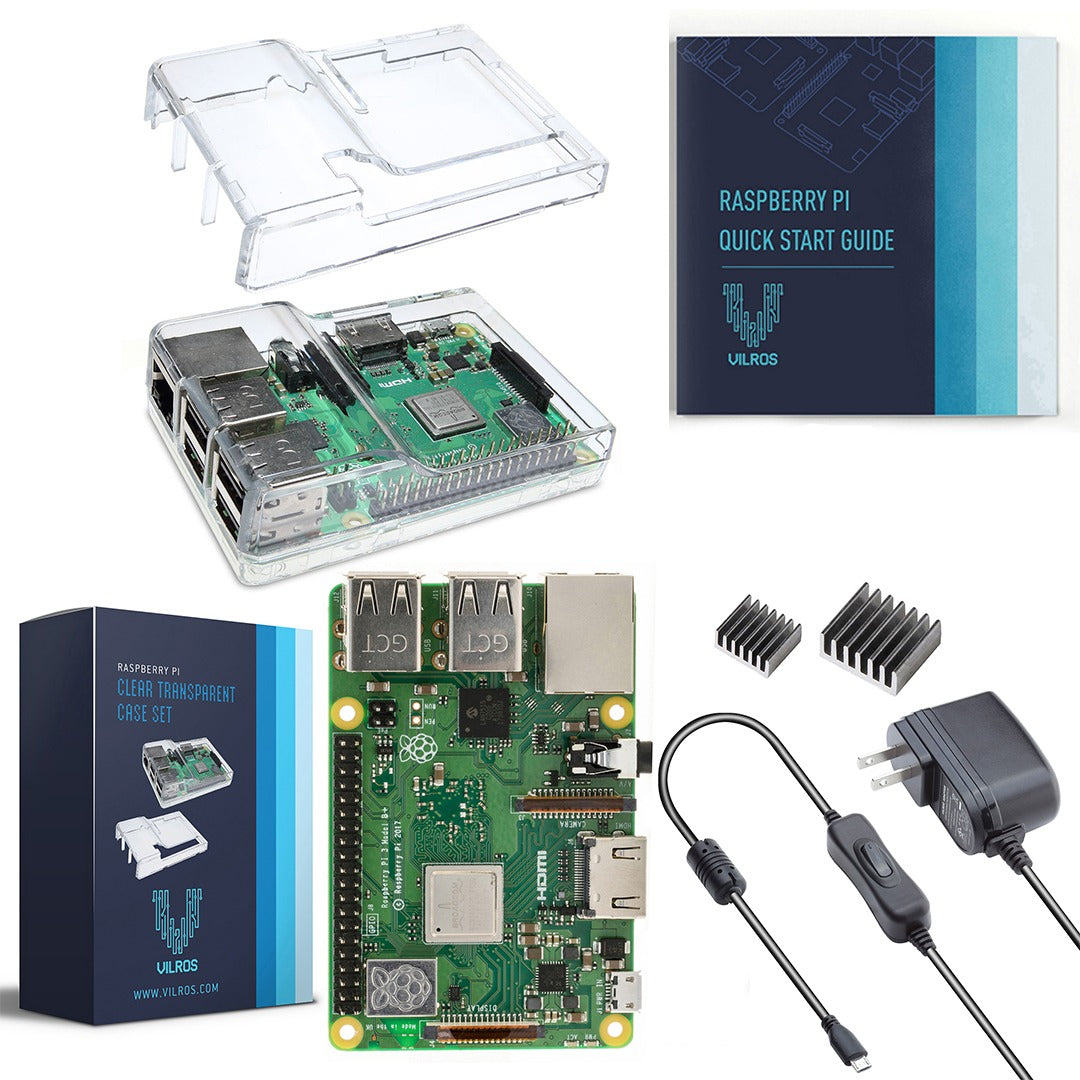
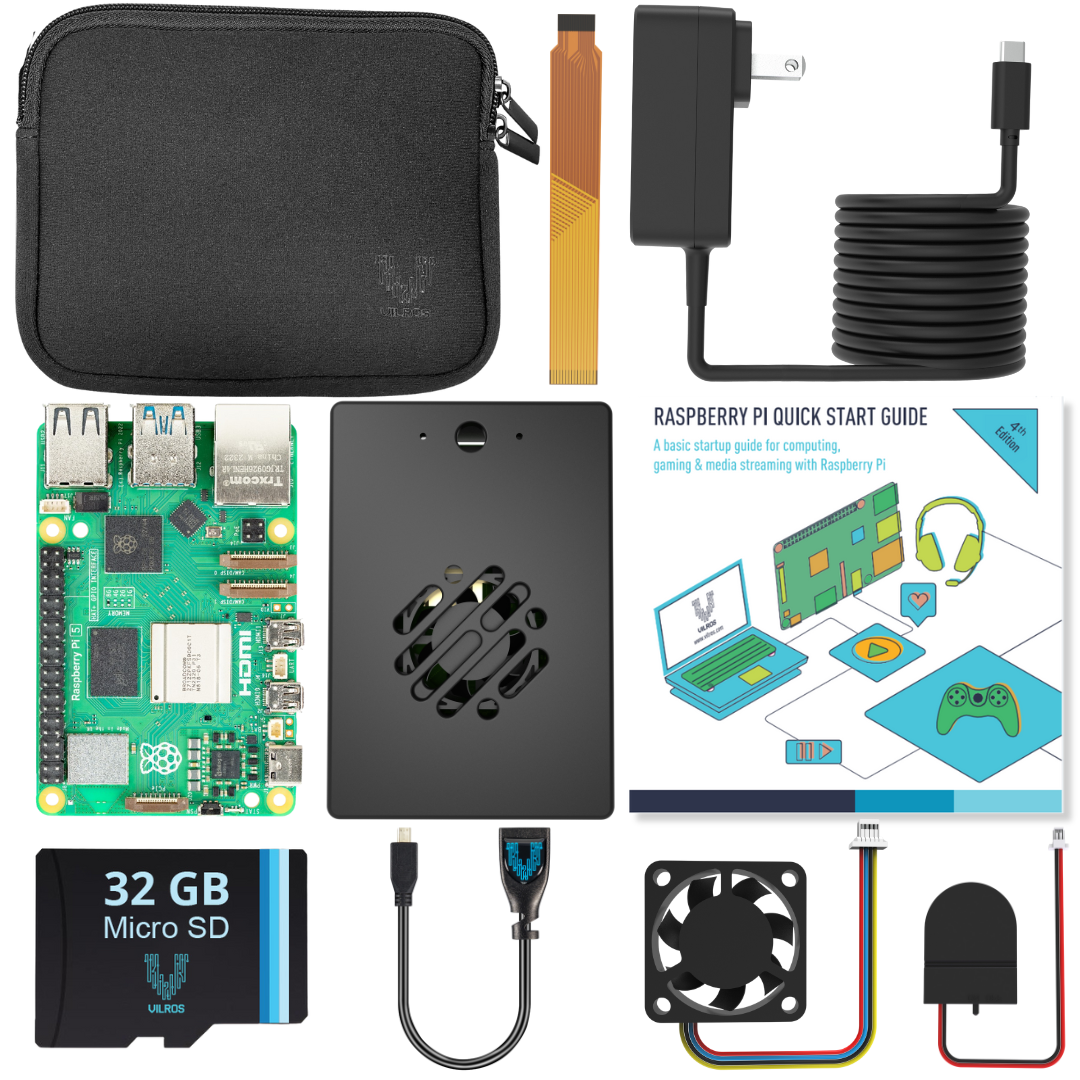
- Raspberry Pi
- Pumps
- The power supply of 2 kinds
- 5V Regulator
- 8-Channel Relay
- 4-Channel Relay
- OLED Display
- 2 LED-Buttons
- LED Stripes
- RFID Sensor
- RFID Chip + Cards
- Wooden Plates
- Wooden Planks
- Plexiglas
- Silicone Tubing
- Funnel
- Wires
- Hinges
- Screws
Let’s begin the project!
- Step 1: Build a frame:
To build the frame, get the electronic saw and cut 4 pieces of 16 inches plank, 4 pieces of 9-inch plank, and 6 pieces of 7.5-inch plank.
Note: Trust us, do not go for the manual saw, as you won’t be getting anywhere near building a bartender with that speed.
To create the side of the bartender frame, you need to screw together two of the 16" planks and two of the 7.5" pieces. To create the other side of the frame, repeat the same step.
Before inserting the screws, drill pilot holes into the board to prevent the wood from breaking; use the 9"-long pieces to connect these two sides. You'll need 2 for each side to attach the bottom and top.
- Step 2: Build a cube:
Get the last 2 pieces of 7.5″ wood plank. Get the measurements from the bottom of the frame, exactly 3 inches, and screw in the 7.5″ wood on either side of the bartender right above the mark of 3 inches.
- Step 3: Prepare to build a platform:
Now, you need a platform to keep the glass for a drink and mount the electronics. To do this, you need MDF boards for it. Get the MDF boards and cut them into:
- Drink platform: 12″ x 9″
- Electronics platform: 11-7/8″ x 7-3/8″
As it will only be resting on the ledge, screw the drink platform near the bottom of the frame, between the four vertical posts. Cut a 1.5′′ x 0.75′′ slit out of each corner of the drink platform to make room for those four posts.
- Step 4: Make bartender panels:
Use some black PVC sheet material that is simple to cut to the following measurements with a box cutter:
- Front panel: 12 x 16 inch
- Left panel: 9.25 x 16 inch
- Right panel: 9.25 x 12-⅛ inch
- Access panel: 9.25 x 3-⅞ inch
- Top panel: 12.25 x 9-5/16 inch
- Back panel: 12 x 16 inch
- Inside side panels: 8-15/16 x 10.25 inch
Use the box cutter to score the sheets deeply enough so that you can now snap the sections apart, distributing the weight with an additional piece of wood.
Now, you need to add a window in it for the bartender to insert the drink. Cut a hole 8.5 inches wide by 10 inches tall, starting from the top where the MDF board is fastened inside the frame.
Before sealing it up, place components and electronics in the frame's remaining free space before screwing in the side panels.
- Step 5: Assemble funnel:
To hold the drink funnel, you must 3D print a bracket at this step. All of the drink's components will be poured into the glass by it.
After it dries, drop the funnel inside, allowing it to just rest loosely in the bracket, and screw the bracket into the bottom of the top of the bartender frame.
- Step 6: Mount wires & electric board:
Use double-sided outdoor mounting adhesive to attach the electronics to the MDF board platform. For instructions on how to connect everything, consult the circuit diagram. The parts list also includes links to each component.
- Step 7: Mount the drink pumps:
You could certainly add extra pumps for the crazily large number of beverages. But at first, just add six pumps to a bartender's back. To attach the pumps without pinning the tubes on the bartender's surface, 3D print some standoffs. However, attach the rear panel first, then screw the pumps into the vertical wood posts via this panel.
Drill two half-inch holes near the electronics, one for each wire going to the pumps and one for the heavy power cable connecting the power supply to the wall socket.
There will be many wires running from the pumps into the electronics tray at the bottom of the table. Print a few brushings in 3D to hide the sharp edges of the holes and shield the wires and cables.
- Step 8: Time to light it up (Add LED lights):
To add a little sparkle, wrap a multi-color LED strip over the top of the frame. Using our outdoor mounting tape, the wires can be routed between the outside and the interior side panel.
- Step 9: Install the manifold:
Create a manifold using a 3D printer so that the tubes from all six pumps can be routed into it. Drill six holes in the bartender's top panel before that to allow the tubes to feed inside. After the manifold was 3D printed, we lined it up with the top panel and marked the locations for the drill holes.
Once it is ready, ensure the funnel is inserted inside the bracket, and the top panel is bolted onto the frame just above it.
Next, measure the length that any food-grade silicone tubing from each pump should be before cutting it to fit through the manifold and into the drink funnel.
To make six more tubes that can be used to connect the pumps to each ingredient bottle behind the bartender, cut six more tubes. The plumbing behind the bartender is now visible.
- Step 10: Install buttons & screen:
This is the step for installing the little screen showing the drink menu, status, and two buttons for interacting with the bartender. So, cut a rectangular hole in the front PVC panel under the drinking window. Around this cutout, drill four small holes that will line up with the holes on the screen board. Using 4 small-size screws, fasten the screen to the front panel's rear.
To mount the buttons for interacting with the bartender, drill two holes on either side of the screen. The buttons simply slide into the holes, and a hex nut is used to secure them from the back of the panel.
- Step 11: Wire the pumps:
After that, attach the two power wires—black and red—to the two terminals of each pump. Additionally, it would help if you connected a 1N007 diode across the terminals of each pump to stop residual current from leaking back into the Raspberry Pi.
Finally, your bartender is ready, place your first order to it and pay nothing!
Cleaning tip for the bartender
It would be best if you cleaned out the pump tubes after using the equipment to prevent the growth of microorganisms. The configuration menu has a simple method for accomplishing this. Connect the water supply to each tube individually, then navigate to configure-clean on the bartender screen and select that option.
In order to remove the remaining liquid from the tubes, all pumps will activate. To pump some air through the tubes and drain all water from the pumps, you must withdraw the tubes from the water supply halfway through. Additionally, place a glass underneath the funnel to catch the liquid being drained out.
Wrap up
Hopefully, you follow the steps thoroughly and build an amazing bartender.
If you have any of your projects for Raspberry Pi, feel free to share them. We would surely be happy to learn more about the projects making your life easy. Besides, if you haven’t created one and looking forward to it, feel free to order genuine Raspberry pi boards and kits from Vilros. Shop with confidence - create your projects!


