You’ve Got Mail! Build Your Own Alexa Smart Mailbox in 5 Easy Steps
You’ve Got Mail! Build Your Own Alexa Smart Mailbox in 5 Easy Steps
What if I told you there was a special message waiting just for you?
Here at Vilros, we are always hunting for new Smart tech projects with you in mind. Neither snow nor rain nor heat nor gloom of night will keep us from the swift completion of our appointed rounds! No, we’re not the United States Postal Service – but with the help of Team CodersCafe (aka ShebinJoseJacob & Darkmatter), we can help you create an Alexa Smart Mailbox.
With Arduino Uno, Raspberry Pi, and a Proximity Sensor, you can make your very own Smart Mailbox that works with Amazon Alexa. She’ll let you know what’s in your mail.
Here are the parts you’ll need:
- Arduino UNO + Genuino UNO
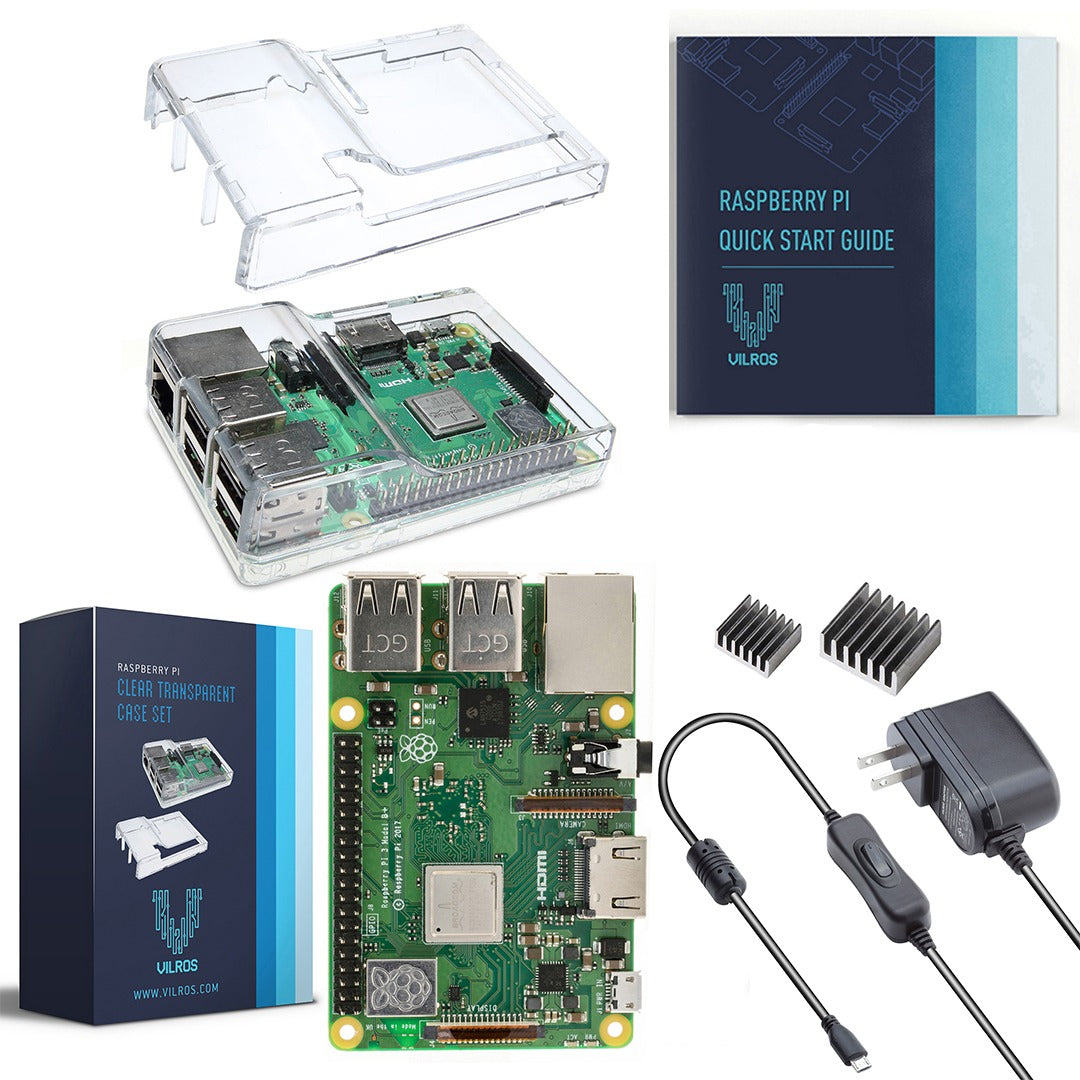
- Raspberry Pi 3 (Model B)
- A Proximity Sensor (Team CodersCafe recommends this model)
- Generic Jumper Wires
- USB Microphone
- External Speaker (with a 3.5mm cable)
You’ll also need to make sure you have Arduino Software (IDE) installed as well Amazon Alexa Voice Service, the Amazon Alexa Skills Kit, flask-ask, and ngrok.
Now you’re ready to get started!
1. GET ARDUINO UNO SET UP
First, you need to connect Arudino Uno to your proximity sensor. Once you have successfully finished this step, upload the segment of code below into Arduino Uno which will allow the proximity sensor to communicate with your Raspberry Pi as well as Alexa:
#Code to read data from proximity sensor#Developed by Shebin Jose Jacobint sensor = 5; int mail = 0; void setup() { pinMode(sensor, INPUT); Serial.begin(9600); }void loop() { mail = digitalRead(sensor); if(mail == 1) { Serial.write(1); # returns 1 if mail is present } else{ Serial.write(0); # returns 0 if mail is not present }}

2. ADD SWEET RASPBERRY PI
If the steps of this project are followed to the letter, Arduino will be connected to Raspberry Pi will serve as a substitute for Alexa (complete with voice pickup). Run the Python code below in Raspberry Pi to allow it to remotely send responses to Alexa, this will install the necessary supporting libraries:
sudo apt-get update && sudo apt-get upgrade sudo apt-get install python2.7-dev python-dev python-pip sudo pip install Flask flask-ask sudo apt-get install python-serial
#Developed by Shebin Jose Jacobfrom flask import Flask from flask_ask import Ask, statement import requests import json import serial ser = serial.Serial("/dev/ttyACM0", 9600) #change here for your serial app = Flask(__name__) ask = Ask(app, '/') @ask.launch @ask.intent("Check") if (ser.read()==1) def yes(): return statement("New mail has arrived , Check it soon") else def no(): return statement("No mails yet") if __name__ == "__main__": app.run(debug=True)
3. NGROK & AN HTTPS ENDPOINT
Next, yiu’ll use ngrok so you have a secure tunnel to a local host. This will expose a tunnel behind an HTTPS secure endpoint. This is useful so that Alexa will be able to communicate with your code immediately. According to Team CodersCafe, you want to generate a public HTTPS endpoint to 127.0.0.1:5000
Also, here is a link for further assistance with ngrok.
Next, just enter “./ngrok http 5000” on the command line.
Now you should have a url endpoint which you;ll want to use with Alexa Skill.
4. ALEXA SKILL
A) Add To Your SkillYour first step is to login to your Amazon Developer account here (with your standard Amazon username and password) and add your new skill to your Alexa Skill Kit.
B) Add Your Skill Information
In order to create a new skill, you first need to give a Name, Invocation Name, and Language. (Team CodersCafe uses ‘MailBoxChecker’ as both a Name and Invocation Name). Also, you’ll want to indicate if you require a Video Player, and Audio Player, or to Render Template.
C) Create the Interaction Model
In the window, now you can add as many Intents, Slots and Sample Utterances as you want. (Note: the only intent used by Team CodersCafe is “check intent”).
D) Finish Your Configuration
Set your service endpoint type to https and use the ngrok url from earlier as your default.
E) Specify An SSL Certificate
For your SSL Certificate, choose 'My development endpoint is a sub-domain of a domain that has a wildcard certificate from a certificate authority'.
F) Testing, testing…
Now the skill is ready to be enabled and tested!
5. TEST YOUR MAILBOX
Your last step is to enable the skills in your connected device and make sure everything is working. You now should have your very own Smart Mailbox with Arduino, Raspberry Pi and Alexa!
Again, our team at Vilros sends a big thumbs up to Team CodersCafe for helping us make sure we get our mail. If you want more information or details about this project, be sure to check out this guide for the Alexa Smart Mailbox.
And don’t forget to come back and check our Vilros Projects blog for more Smart projects you can make!


