Netflix Binge Time with Raspberry Pi
Netflix Binge Time with Raspberry Pi
Want to run Netflix using your Raspberry Pi? (Yes, you can use Raspberry Pi to catch up on Tiger King!)
Since we’re all staying home now in order to keep safe from coronavirus, it’s the perfect time to up your Netflix game.
You may have already figured out that Netflix can be one of the more difficult things to get running on your Pi. This is because it relies on Digital Rights Management (DRM) that’s typically only distributed for closed platforms.
However, there are ways to get Netflix working with your Raspberry Pi.
In this article, we’ll show you how to use a plugin for Kodi that makes it relatively simple and quite reliable to run Netflix on your Pi. We particularly like this strategy because other web browser methods are easily broken.
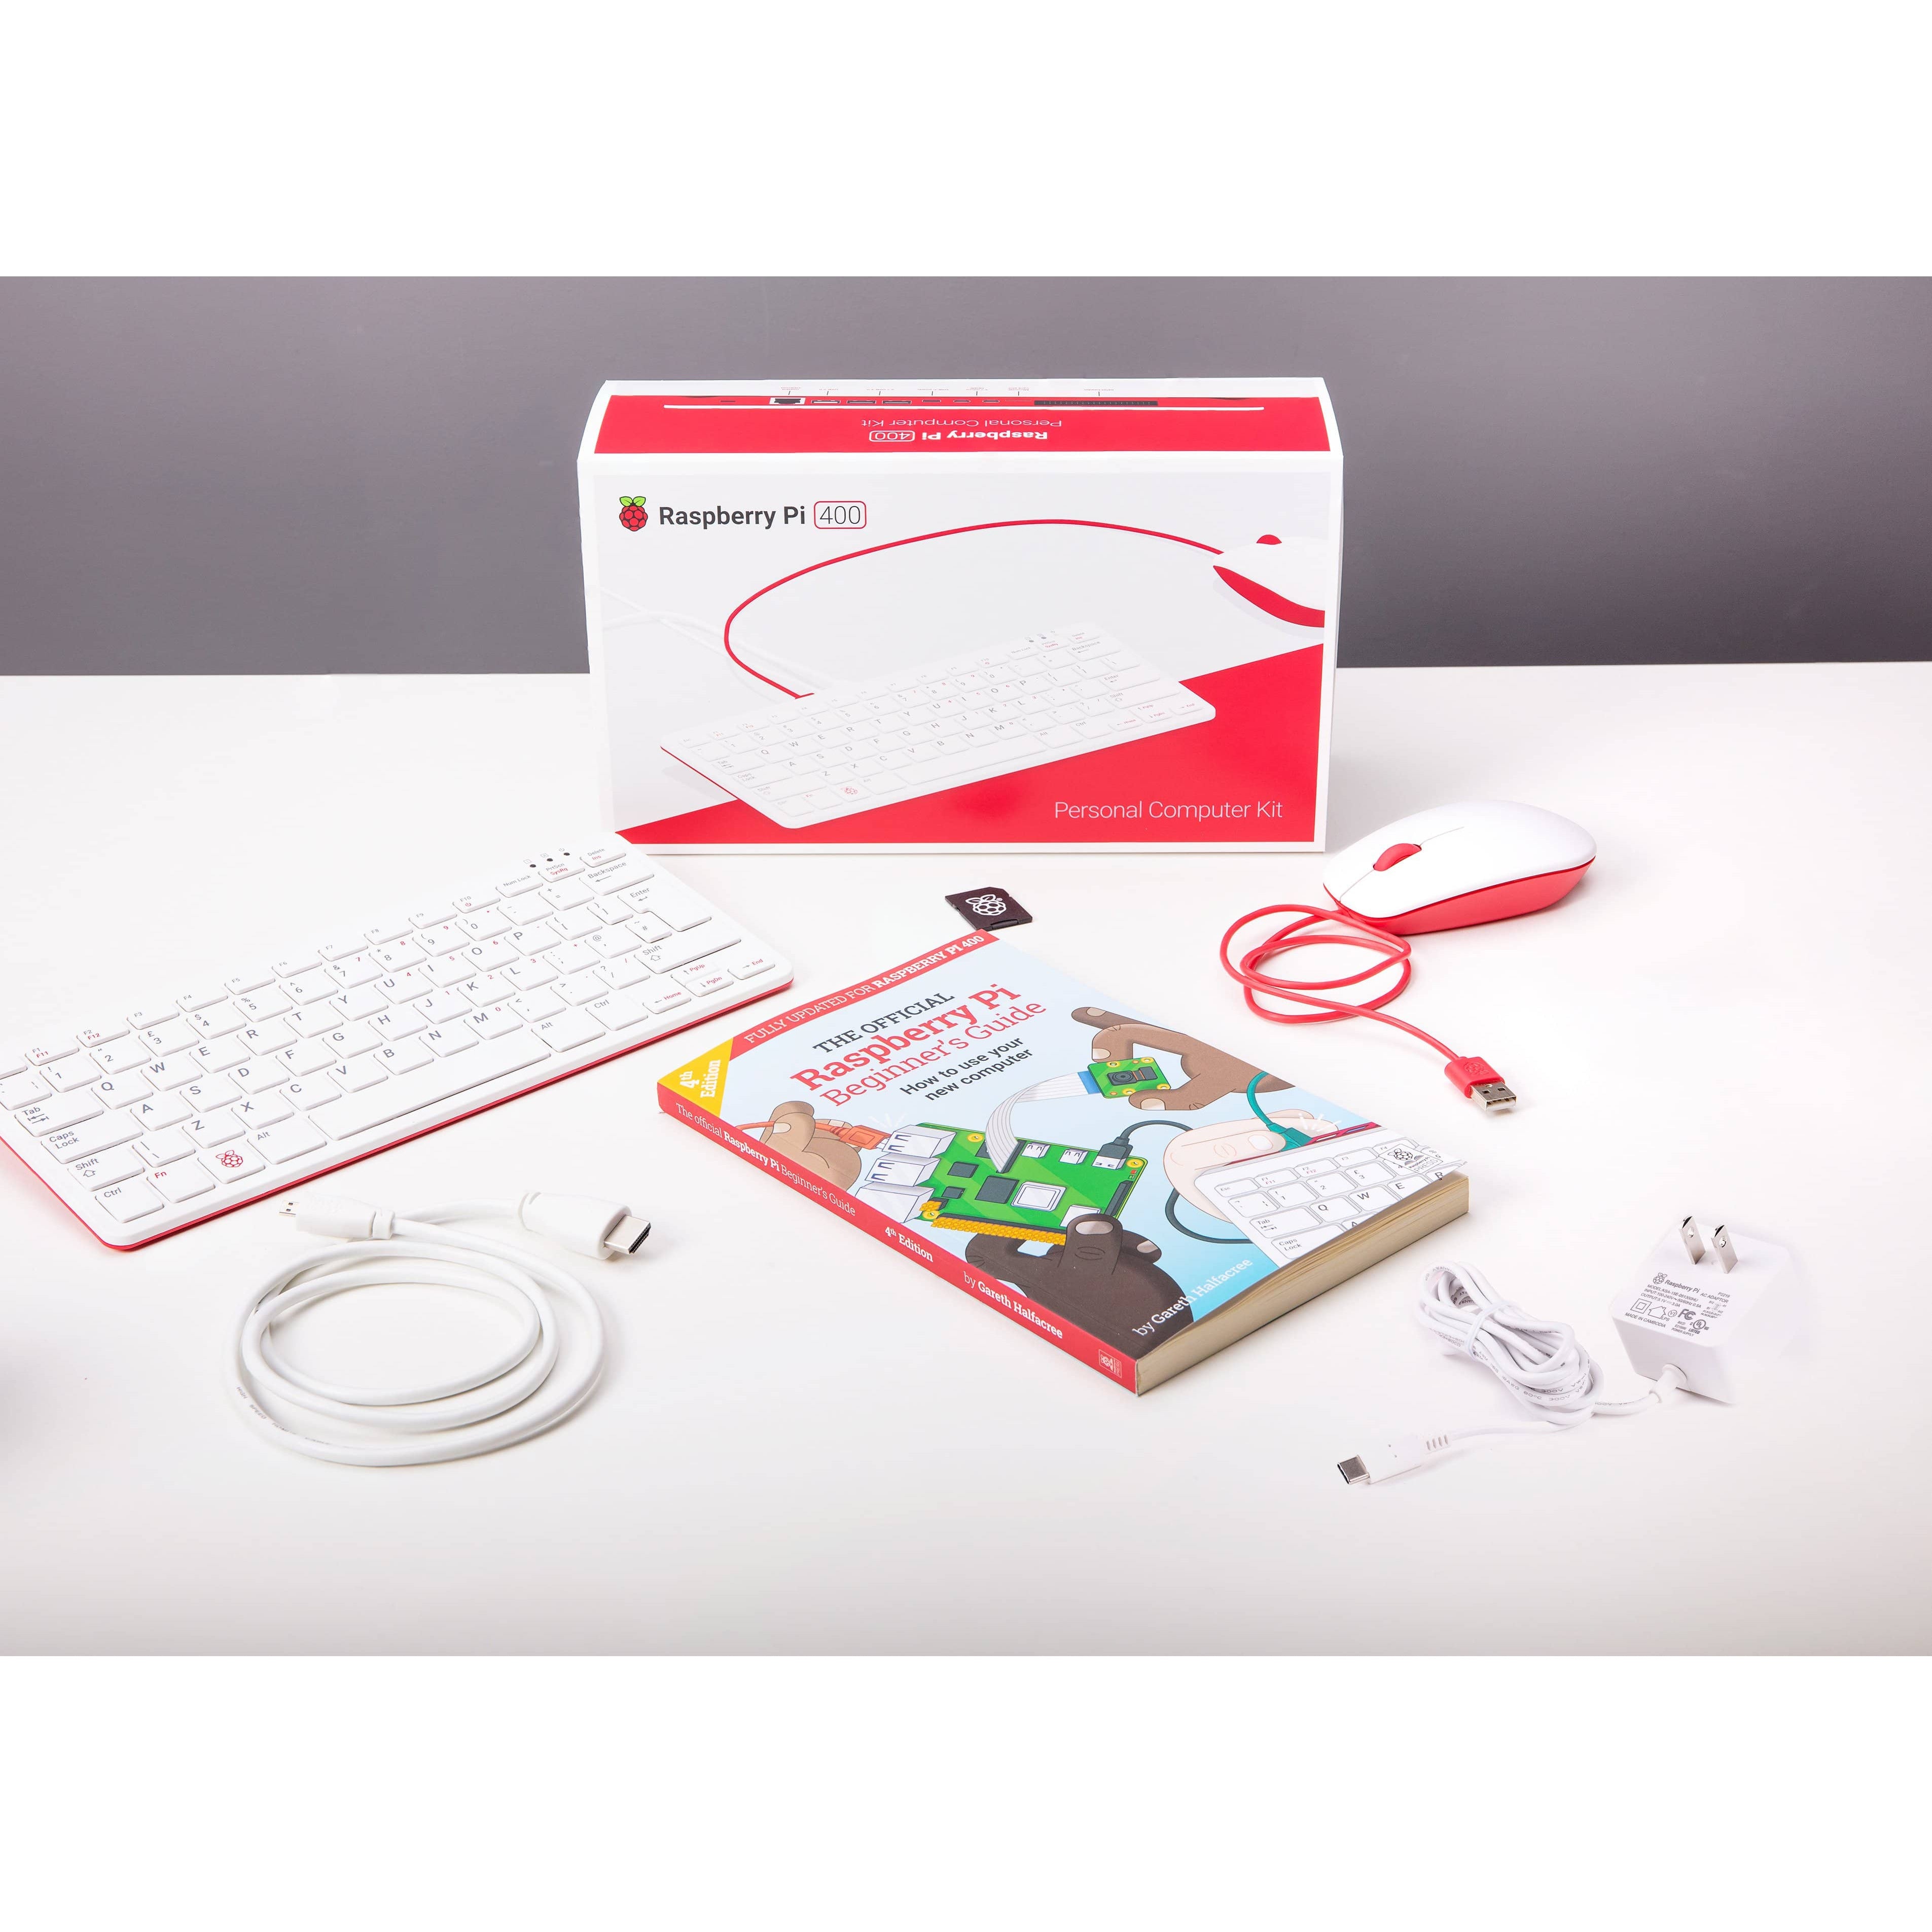
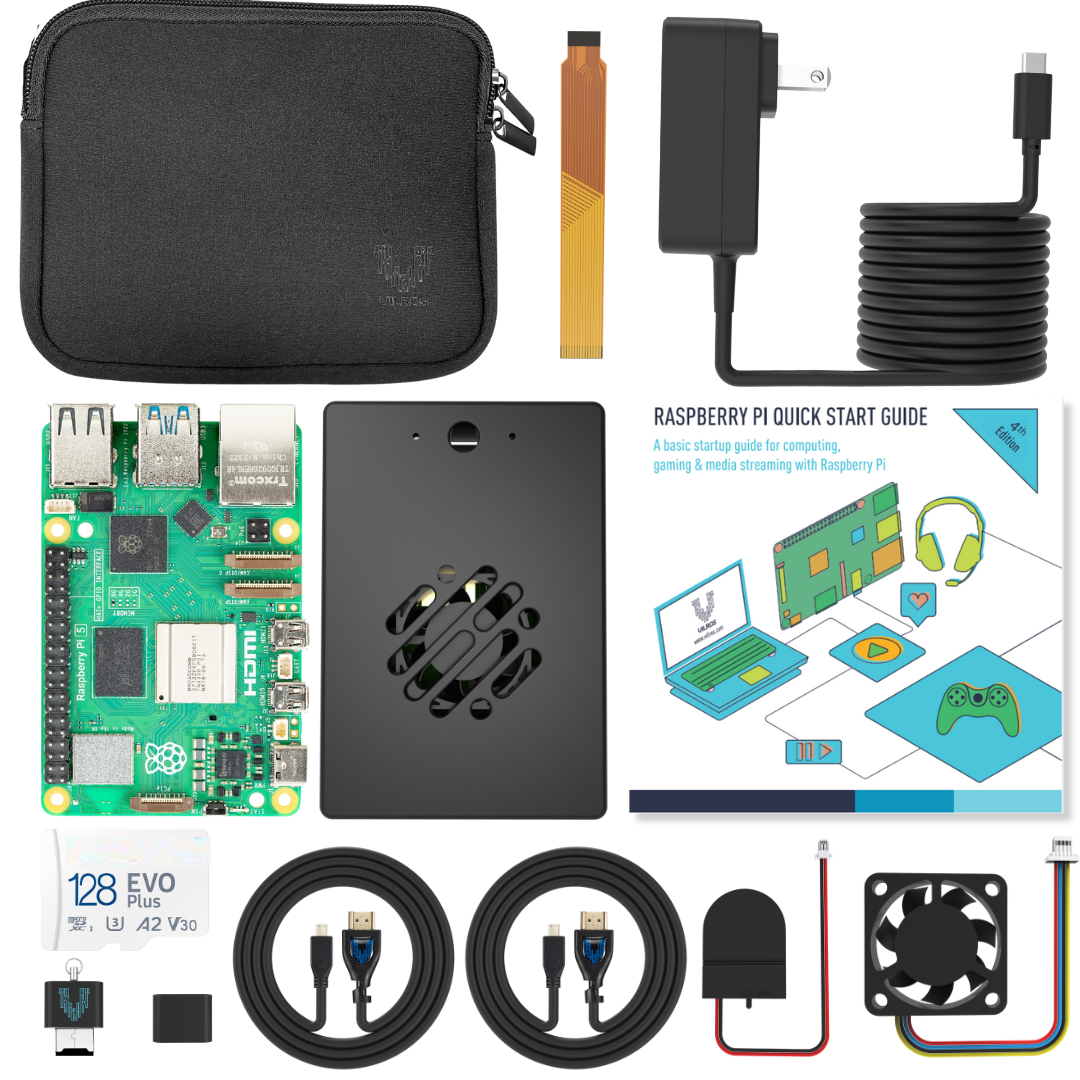
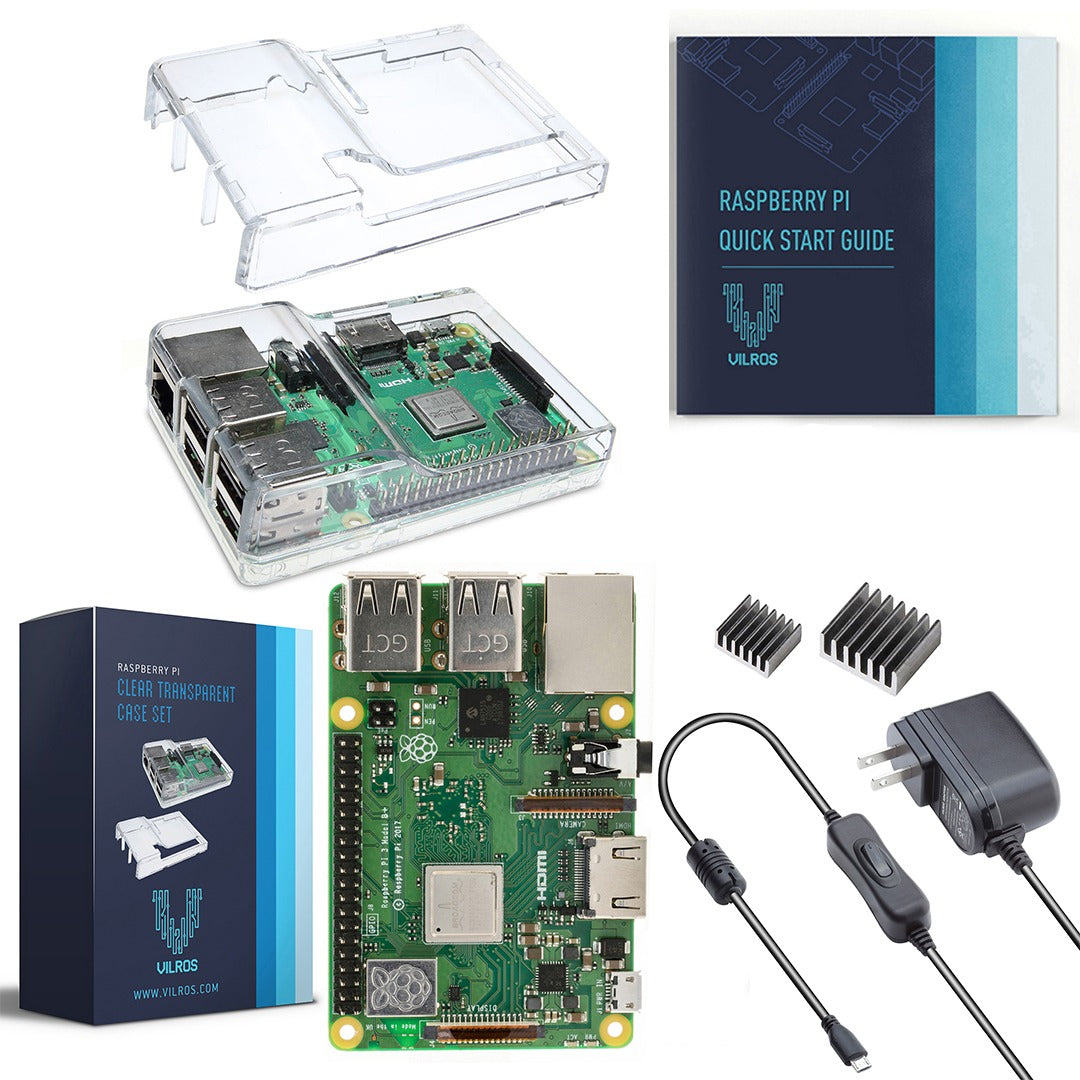
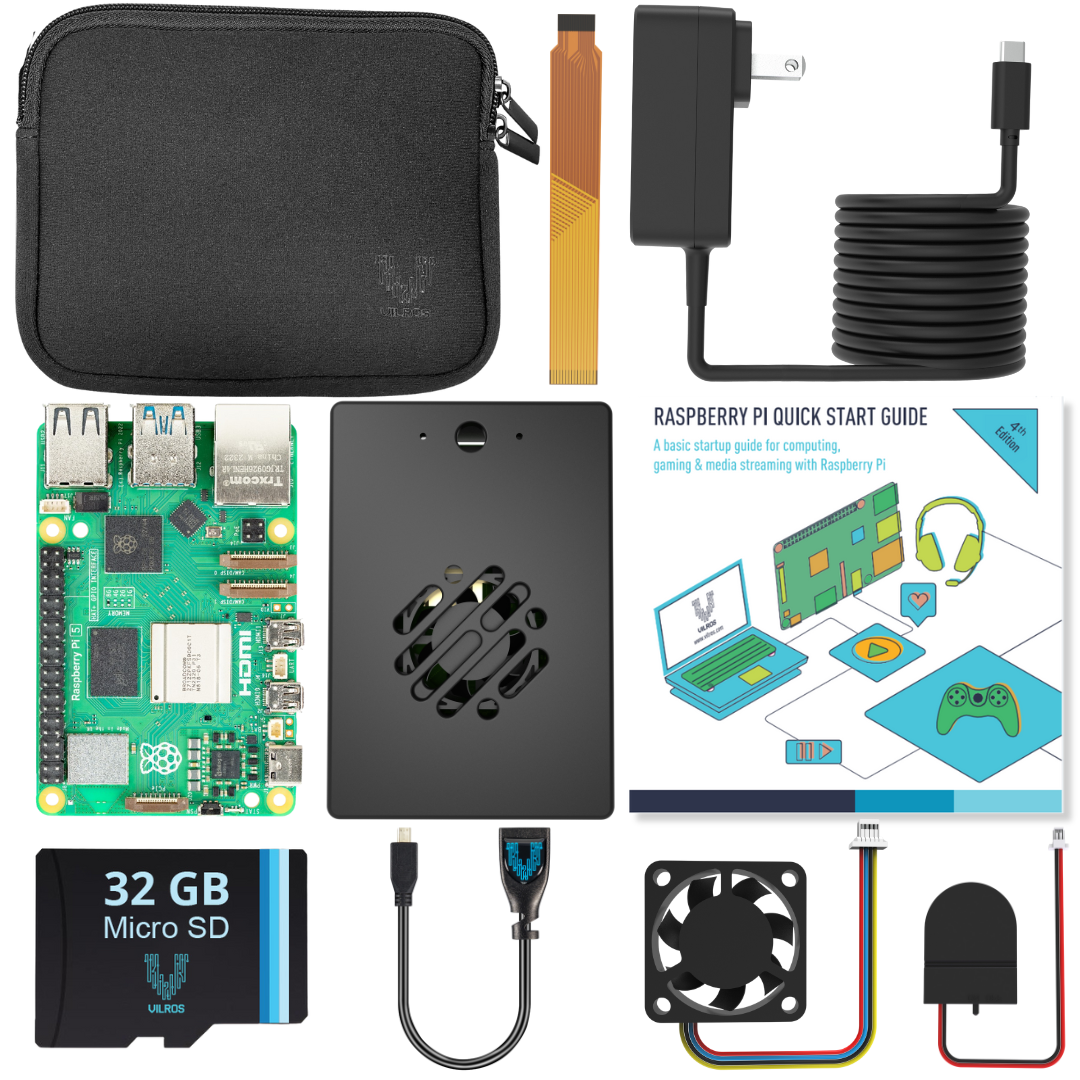
Here’s all the parts and equipment you’ll need:
Raspberry Pi (this works for versions 2, 3, or 4)
Raspbian OS
Micro SD Card (we recommend at least 16GB)
USB Keyboard & Mouse
Power Supply
HDMI
Internet Connection (if you have raspberry Pi 3 or 4, you’ve got WiFi built in)
(Optional) Raspberry Pi Case
Now you’re ready to get started!
Get Prepared
Before you can get Netflix running, there are a few steps to get prepared:
Update all the packages already on your Pi (run these commands: sudo apt update, sudo apt upgrade)
Install Kodi to your Raspberry Pi (run: sudo apt install kodi kodi-peripheral-joystick kodi-pvr-iptvsimple kodi-inputstream-adaptive kodi-inputstream-rtmp)
Install these extra packages to support Kodi (run: sudo apt install build-essential python-pip python-dev libffi-dev libssl-dev libnss3)
Install the required Python packages (run: sudo pip install setuptools wheel pycryptodomex)
Download the CastagnaIT repository (https://github.com/castagnait/repository.castagnait)

Add the Netflix Repository on Kodi
Now you’re ready to use all of the packages you just installed:
Launch Kodi on your Pi (hover over “Sound & Video” and select “Kodi”)
Change the Kodi’s settings to allow unknown sources
Click the “Settings” icon (the cog graphic) at the top left of the screen
Click “System” down at the bottom right
Click “Add-ons” in the side bar
Toggle for the “Unknown Sources” option (*Note, you will get several warning messages. Don’t worry. It’s ok to dismiss these as long as you’re only installing reputable plugins, like the ones we’re showing you).
Once you have “Unknown Sources” enabled, press your Esc key to return to the Main Menu
Click “Add-ons” in the side bar again so you can install the CastagnaIT repository
Click “Install from zip file” to continue
Click “Home folder”
Scroll to the bottom of the dialog box to find and double-click on the file called:
repository.castagnait-1.0.1.zip
Good job! Now you should be all set to finally install the Netflix plugin.
Install the Netflix Plugin to Your Raspberry Pi
Now that we have the required repository installed, here’s what you need to install the Netflix plugin:
From the “Add-ons” page, click “Install from repository”
Select “CastagnaIT Repository”
Open “Video add-ons”
Open the “Netflix” plugin (you’ll be able to start installation on the next screen)
Click “Install” in the bottom right-hand corner (you’ll have to click “Ok” to install additional plugins – this process can take some time)
Next, you’ll need to enable the “Adaptive Inputstream” plugin
Go back to the “My Add-ons” page
Choose the “VideoPlayer Inputstream” category
Open the “InputStream Adaptive” plugin
Click the “Enable” button
You’re finally ready to run Netflix!
Run Netflix on Your Pi
Here’s what you need to do to (finally!) watch your favorite Netflix shows:
Go back to the “Add-ons” page and click on “Netflix”
The first time you open the Netflix add-on, you’ll need to enter your log-in info
Now that you’re within Netflix, choose a show you want to watch
The first time you watch a show, you’ll need to install the DRM modules needed for the plugin
You’ll be notified that “Widevine CDM is required” – click “Install Widevine” to start the installation
You’ll be notified that Widevine CDM has to be extracted from a Chrome OS recovery image and requires at least 3.1GiB of free disk space”. Click “Yes” to continue
Click “I accept” to agree to the EULA required from Google
Wait while the download and extraction process is completed (this may take some time – but now is a great time to get your popcorn ready!)
As soon as the Widevine process is complete – you’ll be all set for your Netflix binge!
If you have any further questions, feel free to reach out to our team here at Vilros.
And be sure to check back for more news and projects for Raspberry Pi and Arduino!


